Friday, October 26. 2012Milwaukee Electric D 13 Dump MotorHere is some new info and pics from our REPORTER, Mr. Gerry Dettloff. Gerry and John Faulhaber have been consistently working on the D 13 cab at one end and have already rebuilt the roof structure and applied and painted a new canvas roof. 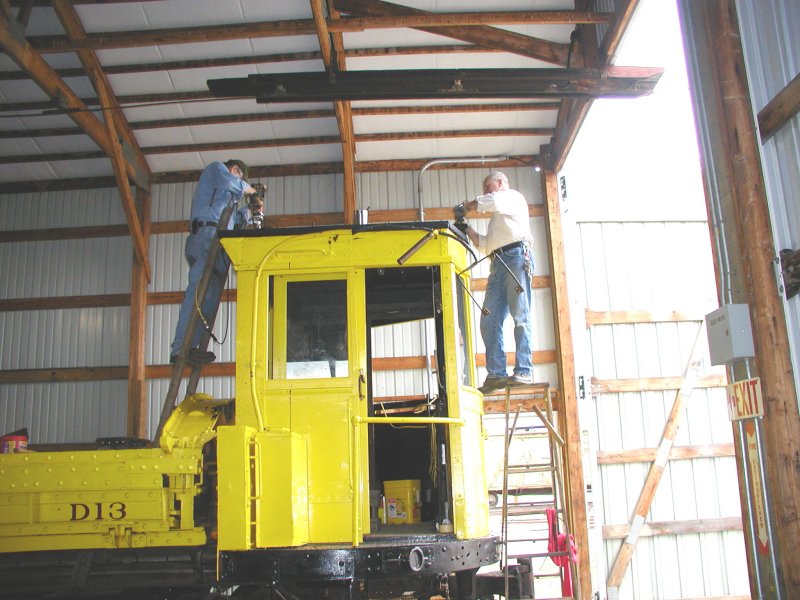 Mounting New Saddles This week they are working to mount new saddles on the new canvas roof. Where did the saddles come from? Of course you have to plan ahead, there are many steps. The saddles were made in our wood shop and previously primed and painted, ready to install. 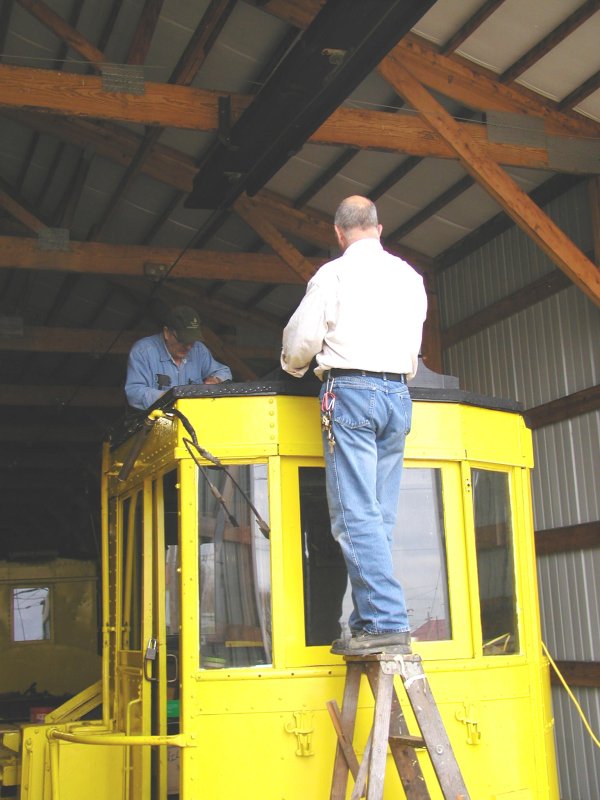 Trolley Boards With the saddles mounted and ready, they are now mounting new trolley boards to the top of the saddles. Next step? To mount the trolley base and pole and wire it up! Thursday, October 25. 2012CGW X 38 Update - October 24, 2012Wednesday was an exceptionally productive and satisfying day for the crew. 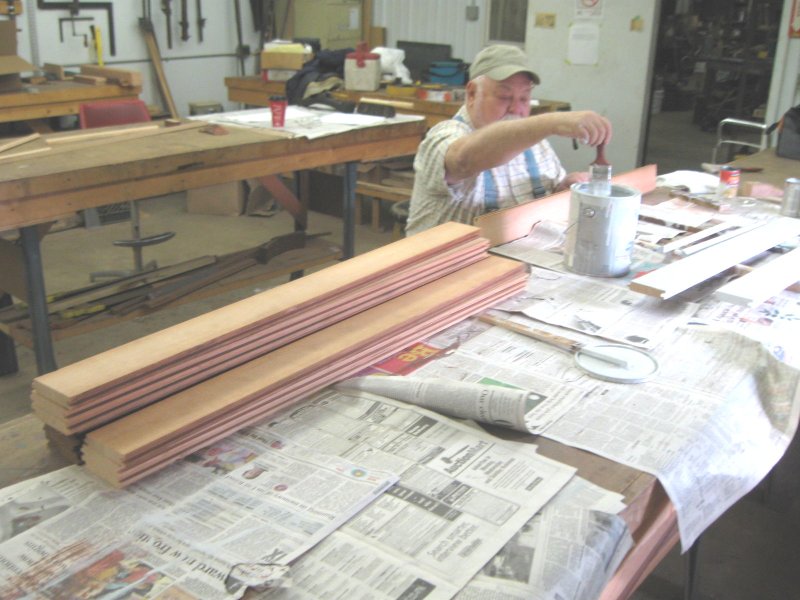 A Prime Candidate Rich Witt worked diligently to prime paint new parts for the interior of the plow. 15 pieces made today, and as fast as Rich processed them, they went up on the car. On some of them the paint was still wet. 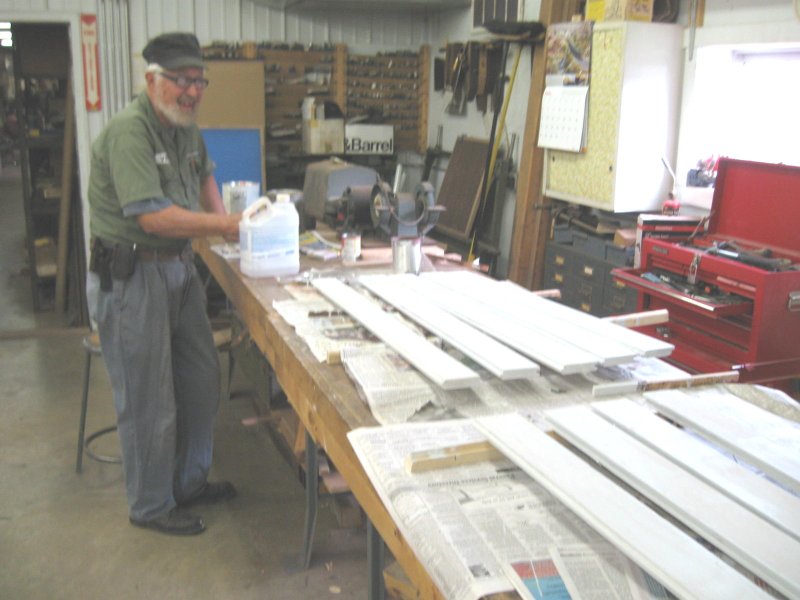 More Help Whenever and wherever help is needed, Henry Vincent is there to help. There is an array of primed parts on the bench before him 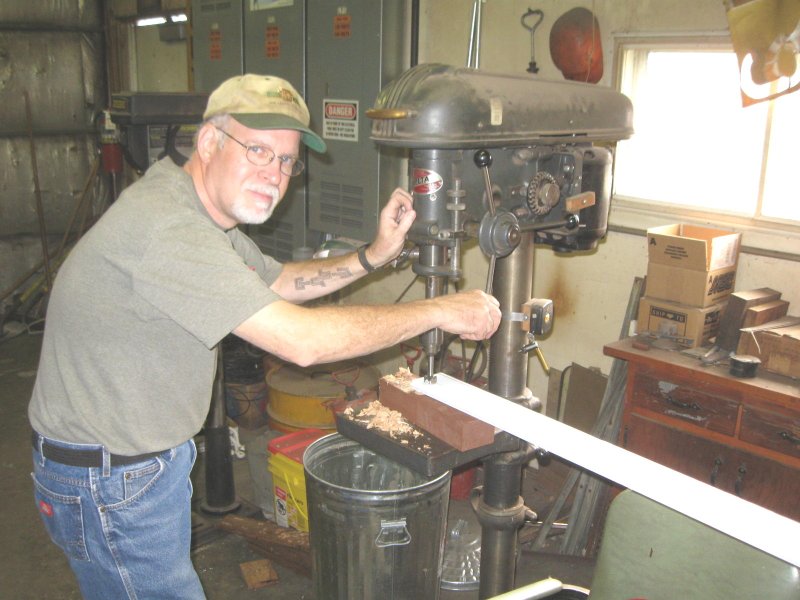 Drilling This piece of interior lining is ready to fit. Dave Rogan is drilling clearance and counterbores, having marked it up when we fit it inside the plow. 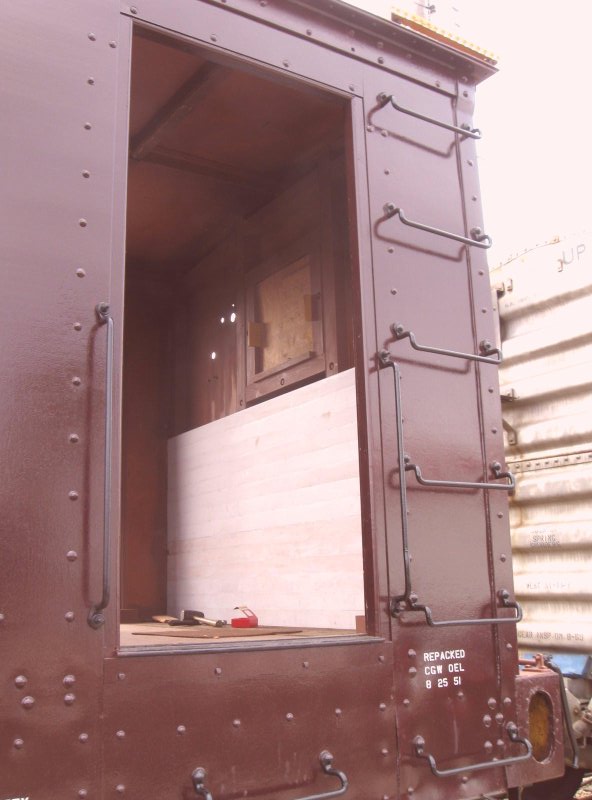 Last Look Here is a last look through the north side doorway. About half the rear wall now has new tongue and groove lining. Much more was in place at the end of the day. 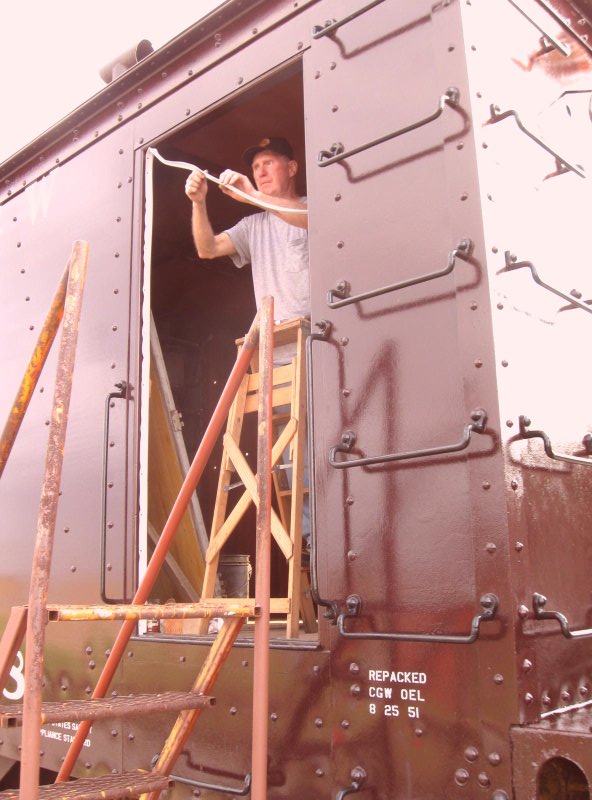 Weatherstrip I said above that was the last look, meaning that doorway will soon be closed up for winter. Jim Leonard fit in a blank door, and here he is installing new weatherstrip to help keep out the rain and coming snow. The weatherstrip is exactly the same section material used by the CGW. 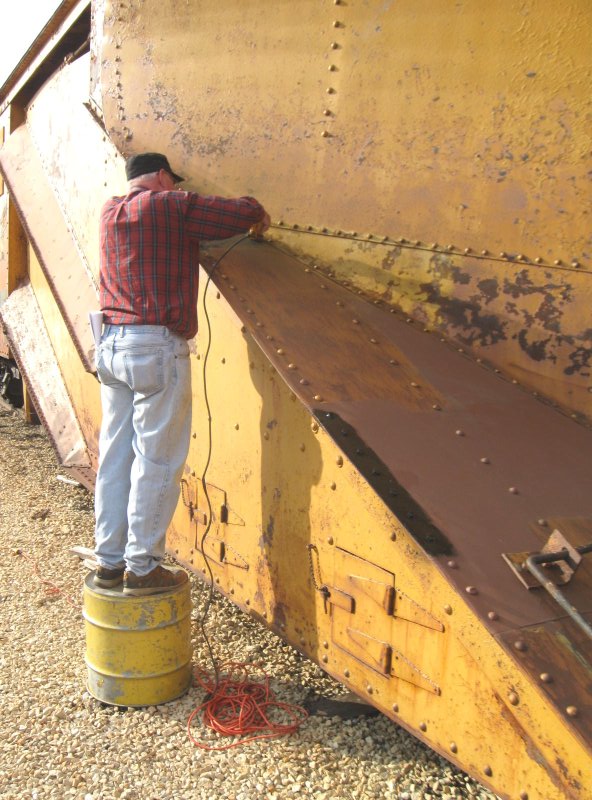 Paint Removal Fred Ash helped again with removing paint from the south side of the nose.  Big Jobs There were two big jobs we set as goals for the day. Here Victor Humphreys is wiping down the rear wall after sanding it, and Dick Cubbage is working his way around to the south side with a wire wheel, prior to priming that area. 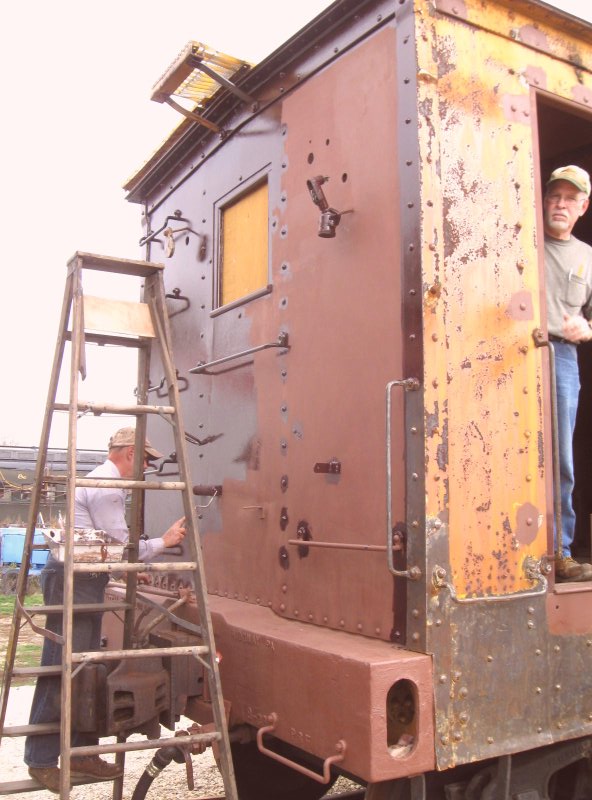 Maroon Then Victor moved in with a bucket of maroon paint destined for the back wall. All was done at day's end and it looks almost startling to see it in maroon as compared to rust, peeling paint, and a large gaping hole there when we acquired this only a few months ago. 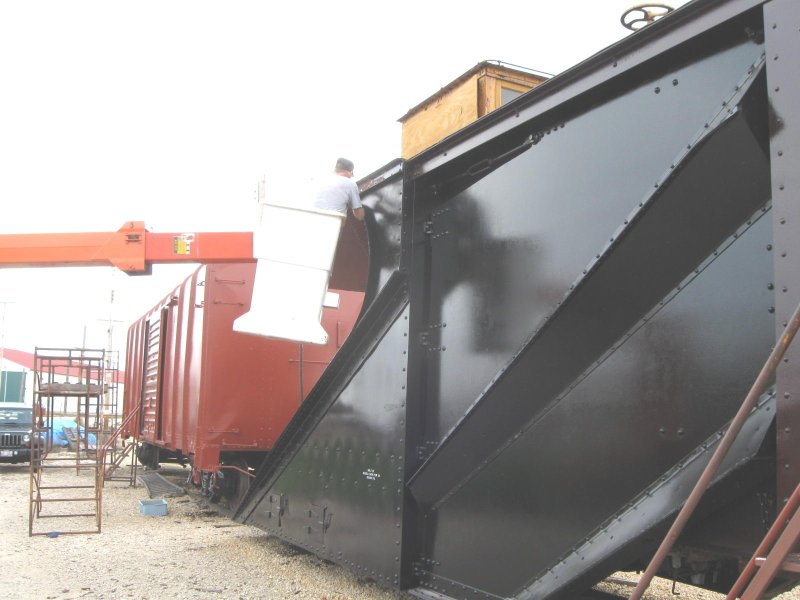 In the Bucket Jim Leonard attacked the front area of the plow with black paint. Here he is in the bucket to reach the structural channel under the roof, cleaned and primed last week. 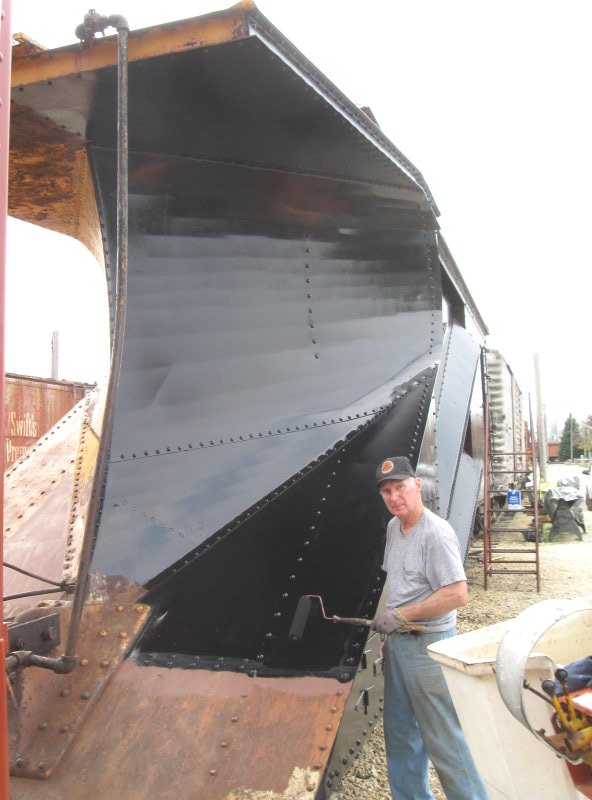 Done Jim finished up the second coat of shiny black enamel over the half of the nose we are working on now, and it fairly glistens, even in the soft cloudy light today. Lots of odds and ends addressed and completed on this project today, including more of the above mentioned interior lining, two more framing timbers, and more! Thursday, October 25. 2012News and Views - October 24, 2012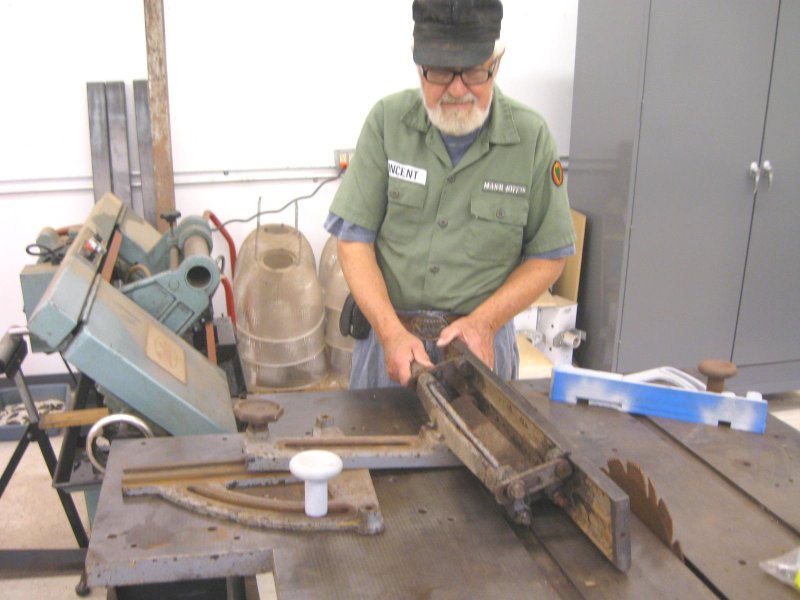 Table Saw Fence We are hoping to restore another table saw for use in the wood shop as it provides some features we do not have on saws now in service. Henry Vincent is patiently working away on that, here a very complicated design for the fence. 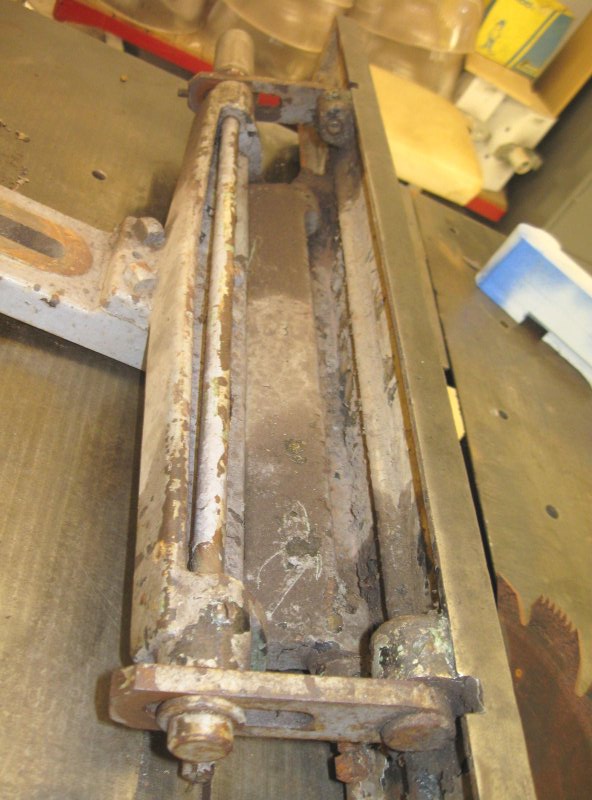 Lots of Parts You maybe able to appreciate just how many moving pieces are in this ONE assembly 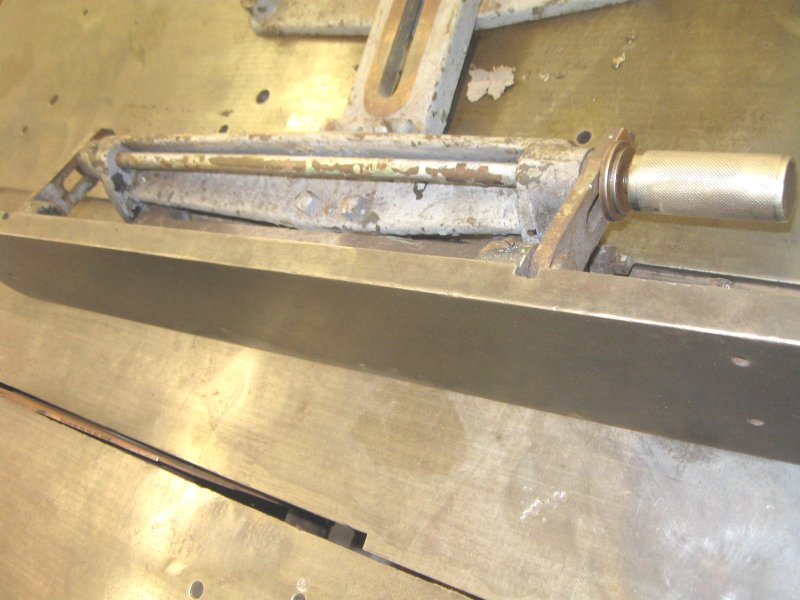 From the Other End Many of the parts are rusted and some frozen in place so it is not so simple as you might expect. So far, only one threaded fastener seems stubborn to the point where it might have be drilled out. 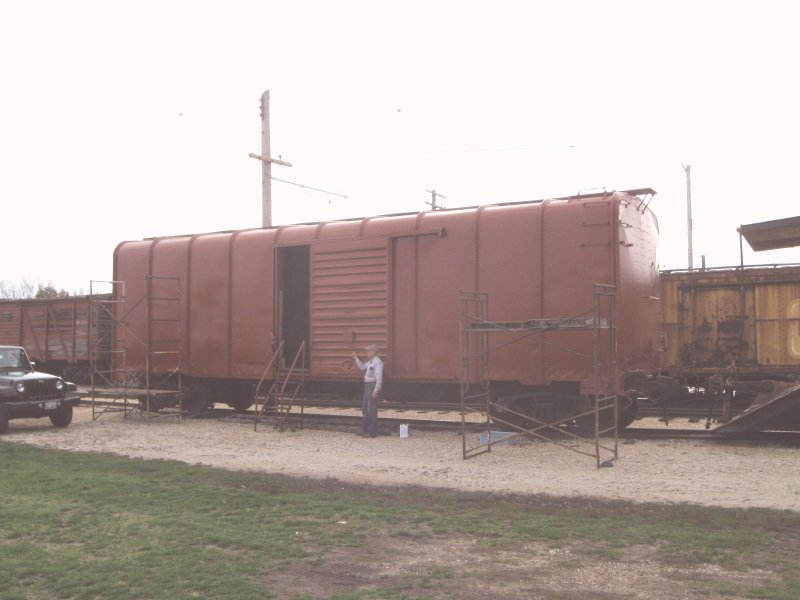 Wagon Top It alternated between cloudy and not so much all day but there was no rain. For some reason it was hard to get good pics, but we all remarked how beautiful the north side of the B&O boxcar was now that it is ALL in the finish enamel paint. Roger Kramer was on site and was painting Illinois Central 3345, a Grill-Coach built in 1948. I was leaving at the end of the day but Jim Leonard volunteered to grab a pic of this work. Sorry, it did not come out. Pete Galayda and John Nelligan continued on rebuilding grid boxes for Charles City Western 300; and Gerry Dettloff and John Faulhaber labored on the TM work equipment. |
Blog AdministrationCalendarQuicksearchArchivesSyndicate This Blog |

Comments
Fri, 03-29-2024 21:26
We're slackers and spend more time working on the equipment in the shop than keeping all you readers updated. We'll work on it, but I'm sure updates [...]
Thu, 03-14-2024 08:02
What happened to the Department Blog? It's been over 2 years and I still regularly check for updates, but nothing comes...
Mon, 12-27-2021 16:28
Happy New Year to all the Departments at the Illinois railway Museum! Thanks for all the good work you do in railroad preservation. Ted Miles, [...]
Wed, 10-13-2021 13:33
Was the CB&Q 1309 every transported to IRM?I’ve been reading old issues of Rail&Wire and the car was mentioned several times.
Mon, 06-07-2021 22:40
I was wondering if in the model layout display what scale would you guys be using and would you be displaying model train history as well? Just [...]
Wed, 06-02-2021 17:27
Nice to see 428's cab back on. Looking forward to when it is operable!
Tue, 06-01-2021 16:47
I hope the work will continue on the UP #428. Now that they are the museum's connection to the national railroad network; she would be very [...]
Sat, 04-17-2021 23:07
What is the status of 126, the Milwaukee Buffet car that is in S. Dakota? Any guess on when or if it will get to IRM?
Wed, 04-14-2021 21:09
Perhaps it is time to scrap the remains of the c, B & Q 7128 to make room for the Villa Real. Ted miles, IRM member
Wed, 04-14-2021 15:26
Hi IRM my name is Jason and I was wonder If you guys would be willing to save a CN Dash8-40cm they are currently being retired by CN and being [...]
Fri, 04-09-2021 19:56
Bear in mind that the Nebraska Zephyr is an articulated train set, so cars cannot be inserted at will. Although cars and/or a second engine could be [...]
Wed, 03-31-2021 11:37
I believe Silver Pony is currently on the back burner, and has been put into storage in one of the barns. The car needs a lot of work done to it's [...]