Wednesday, April 28. 2021It Happened One Saturday at IRM
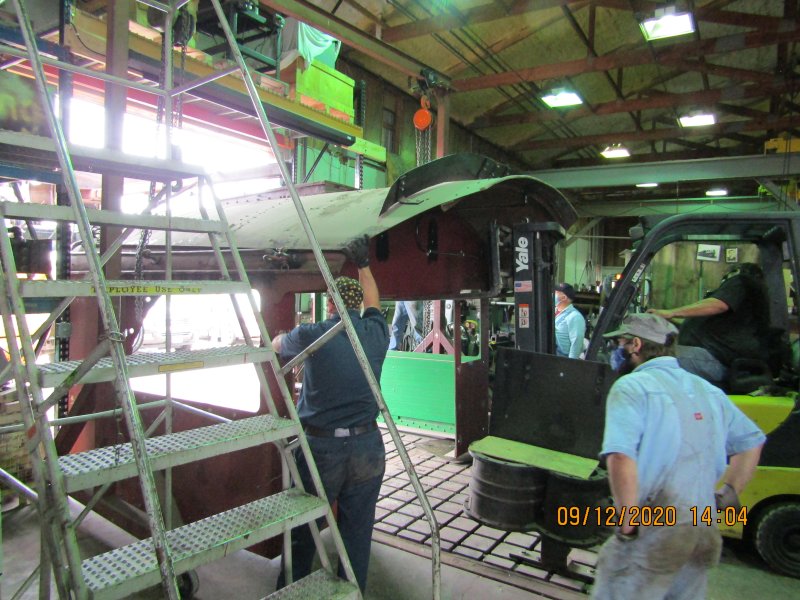
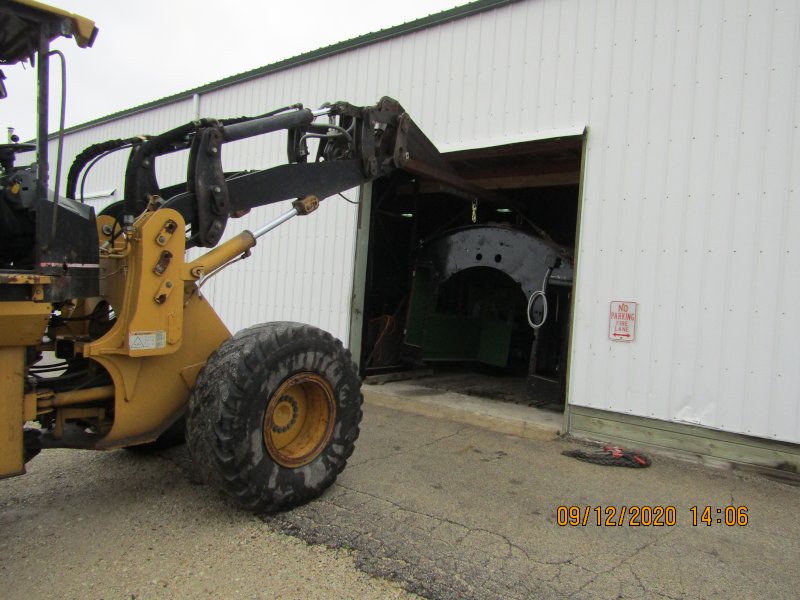
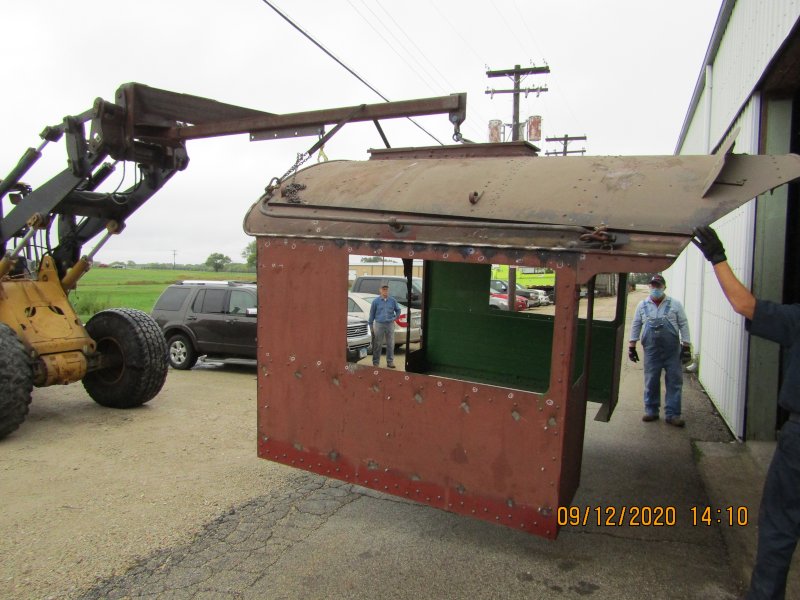
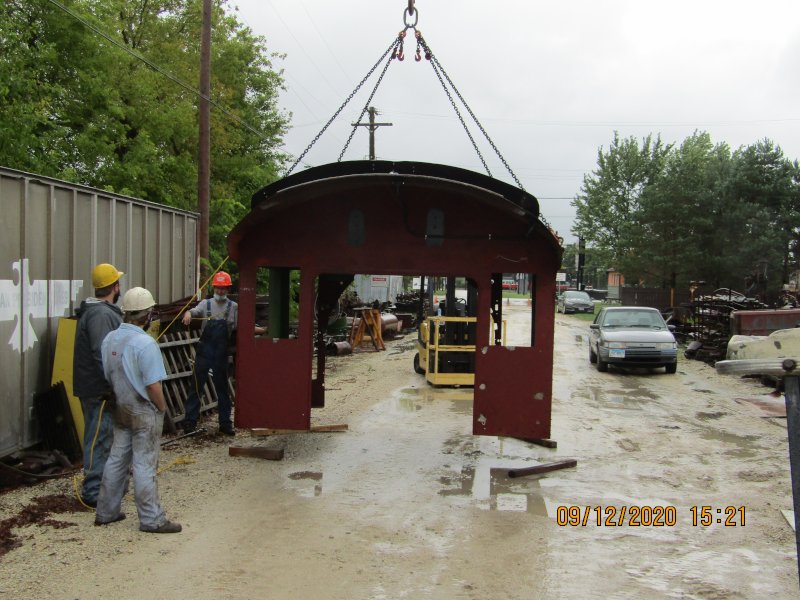
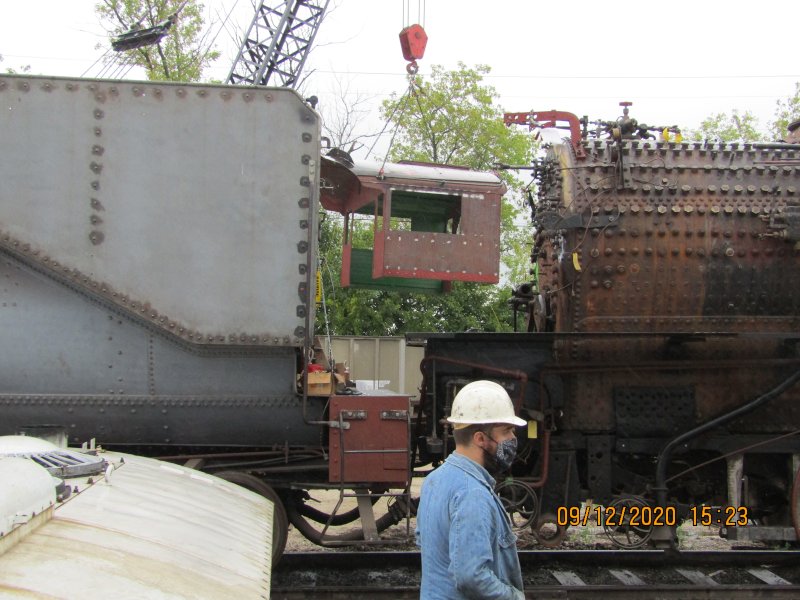
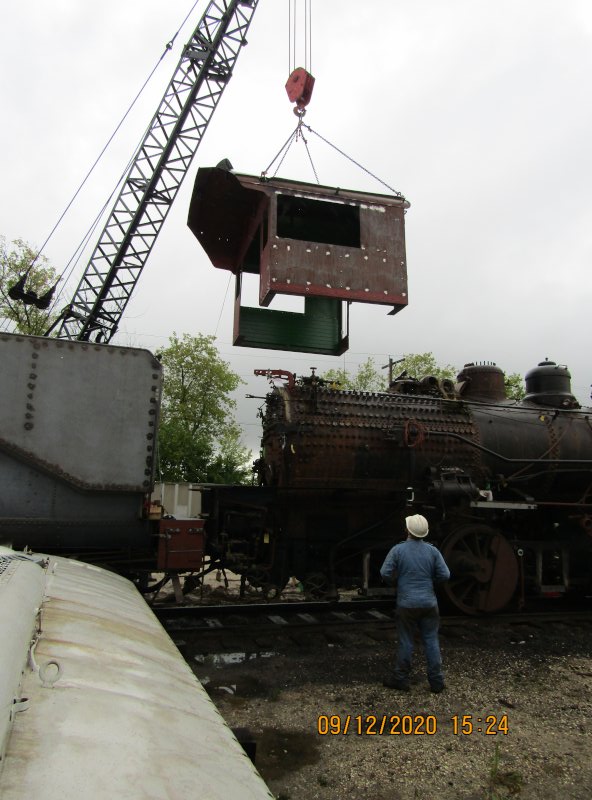
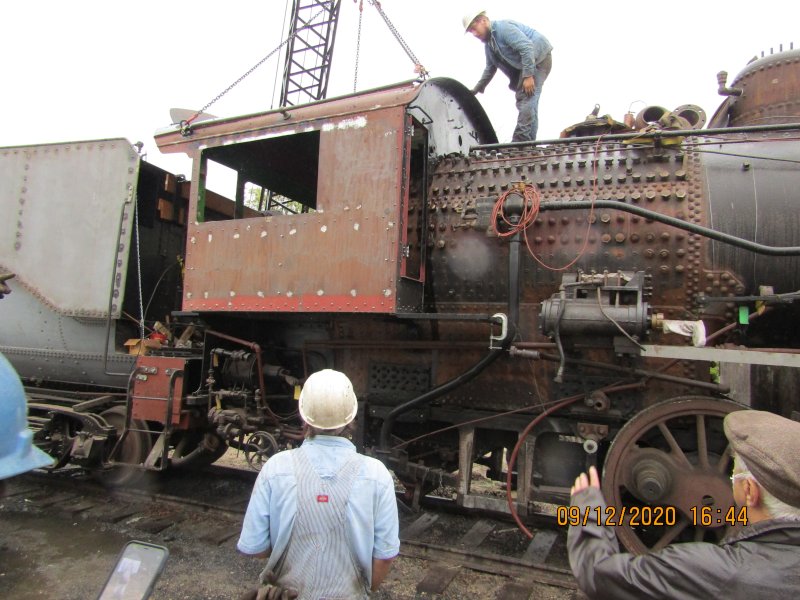
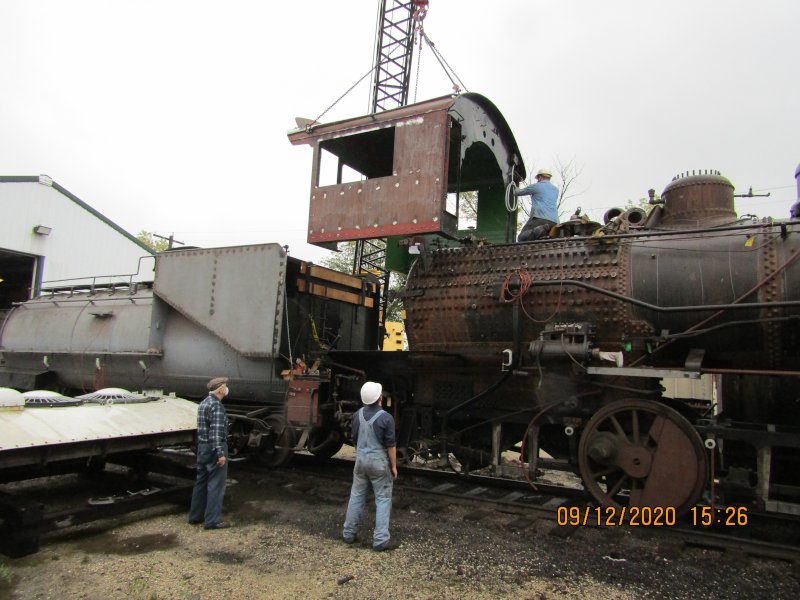
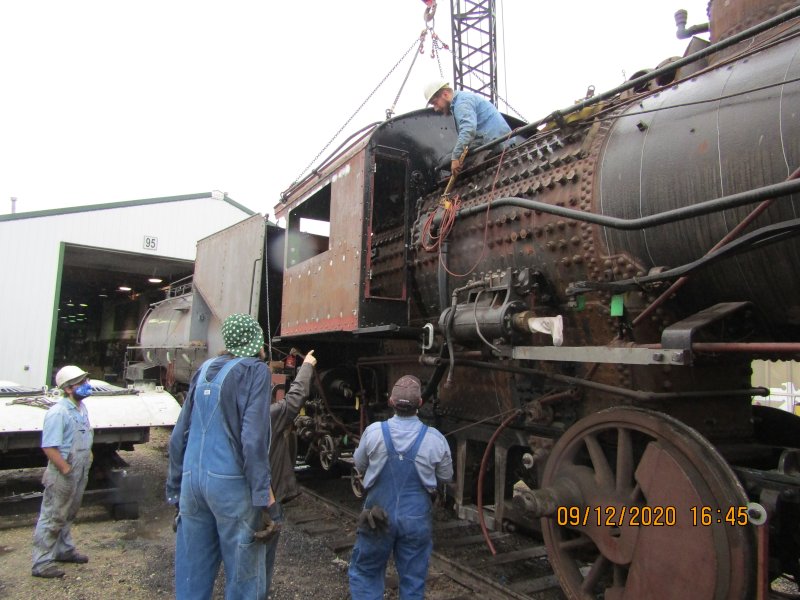
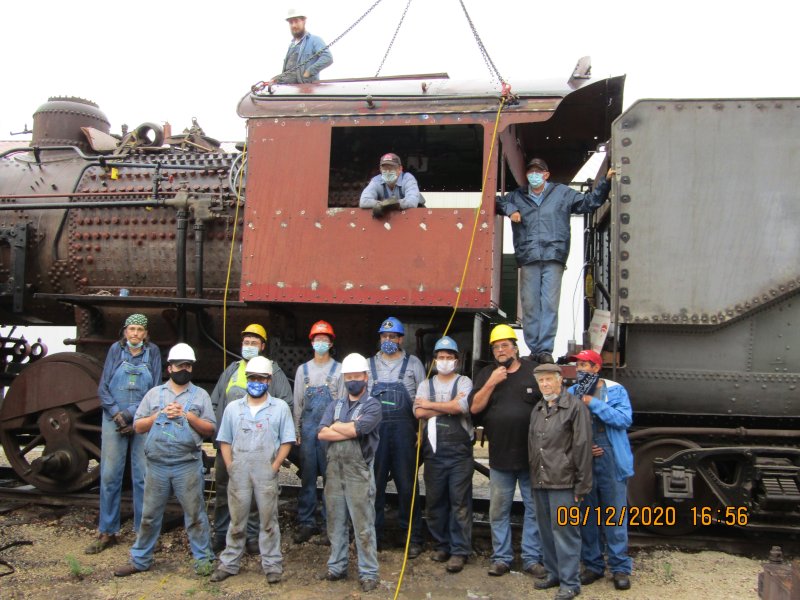
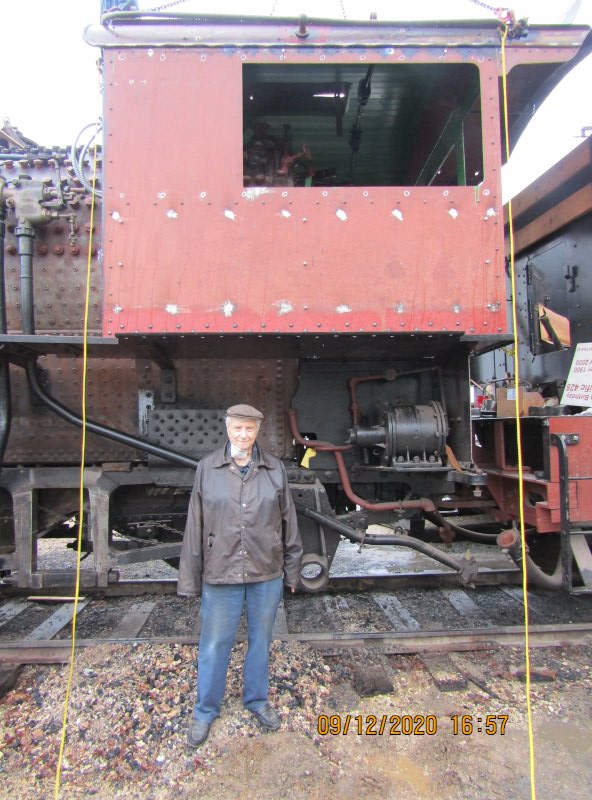
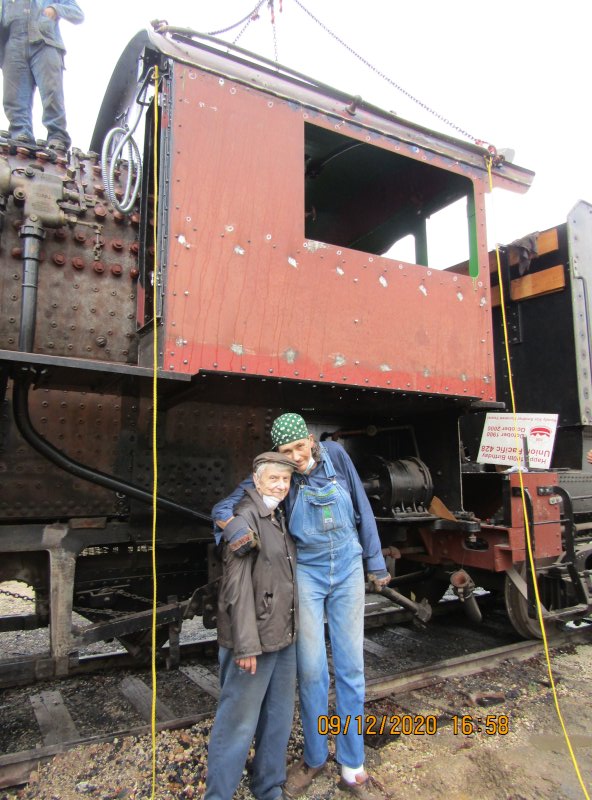
Yes, It was an event beyond belief. It happened on September 12, 2020. What was it you ask? Well, the lonely steam loco cab of UP 428 was finally reinstalled on the engine body. After many years of viewing it on the floor of the steam shop it has now found its way back onto the locomotive. She finally has received her "hat" again. That's what I call it anyway. Now it looks like a steam engine again! Here are some pictures of the blessed event.
If you want to see this 428 project finally steam again, please consider donating to the UP 428! Thanks, Roger.
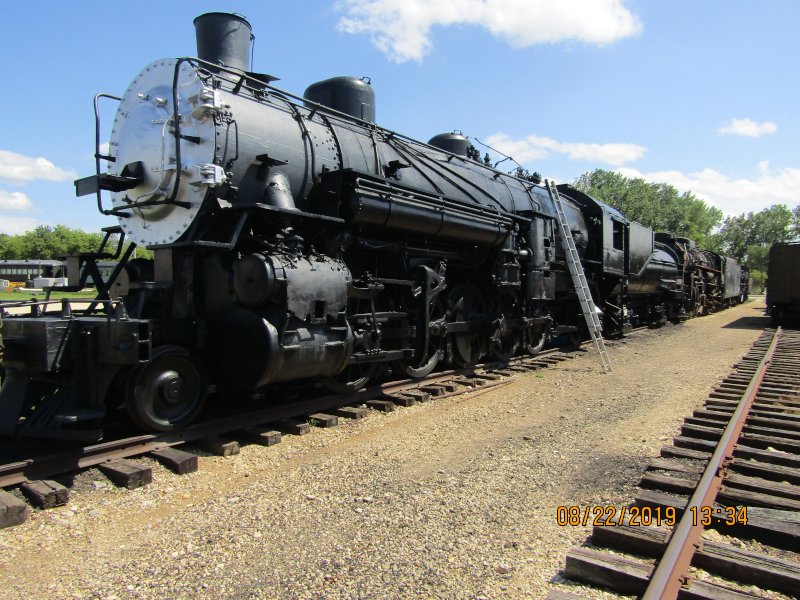
Friday, May 22. 2020Paint restoration of the 975Among the many restorations and building projects in 2019 was the painting of the steam locomotive T&NO #975, a 2-10-2 wheel arrangement. This project, which was started in 2018, was financed by the museum through the general fund. This is an example what can be done by the museum through the hiring of paid employees. A member, Gregg Wolfersheim, was hired to paint the engine and with his hard work he turned a rusty old steam engine into again a work of beauty.  Here the
wheel frames are primed and prepared for a coat of black paint. 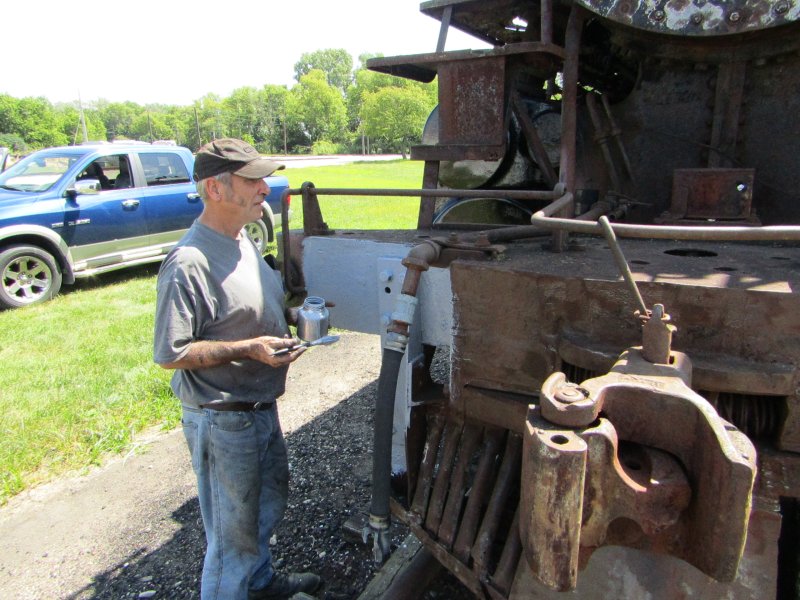 Here Gregg has removed the old rust and paint and is now applying a coat of Sherwin Williams primer. 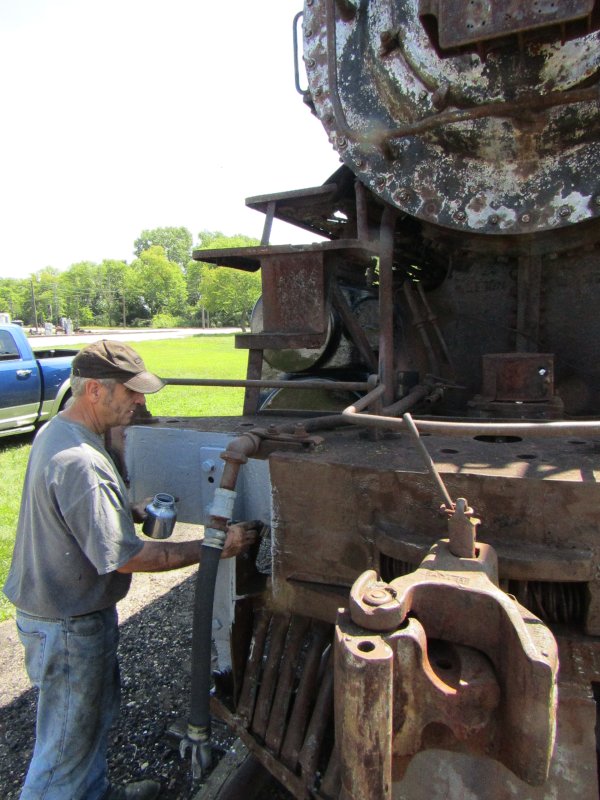 One brush stroke at a time. 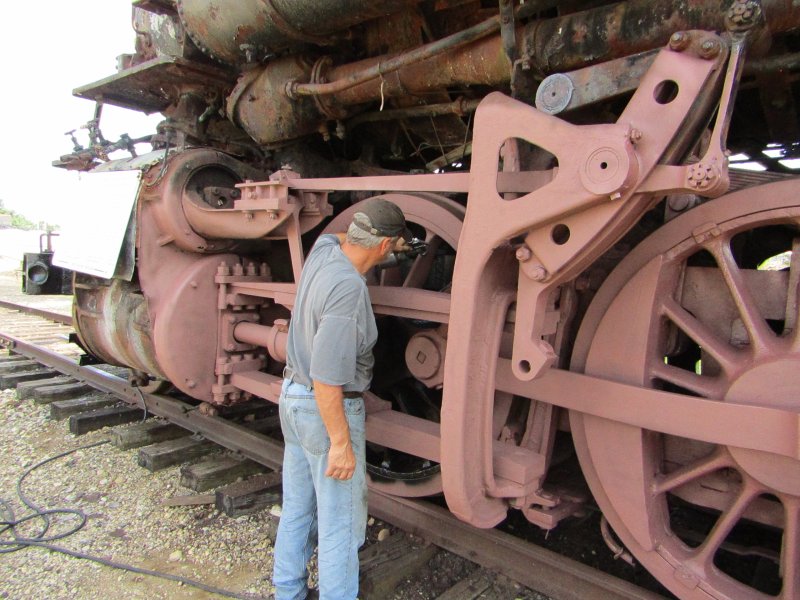 The running gear on the west side is almost all primed with pink primer. We added a little too much red colorant into the primer. 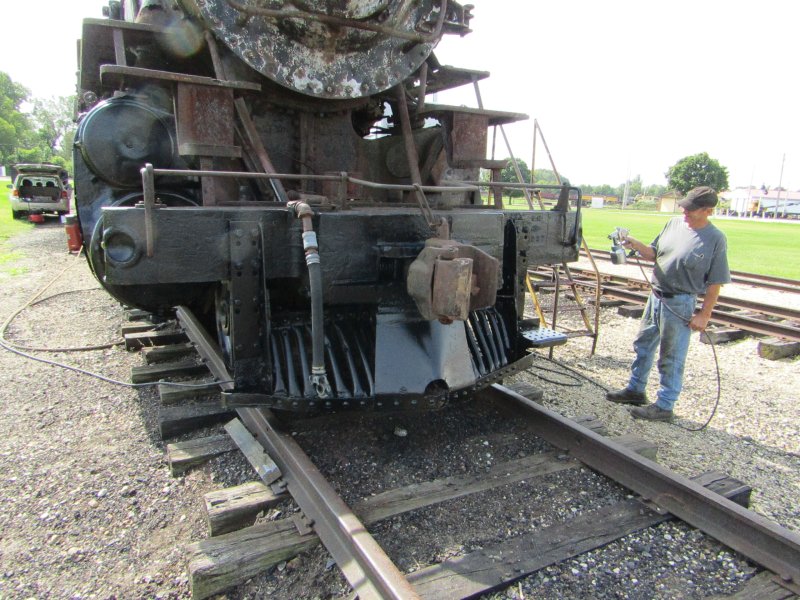 Here Gregg is spraying the front pilot area black. 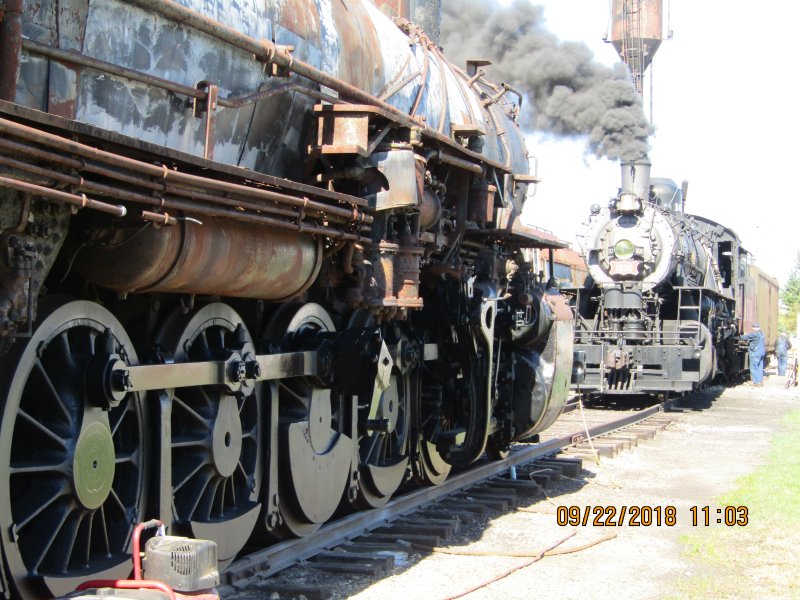 1630 fired up. This could a rail yard in Texas! No, its at the Illinois Railway Museum. 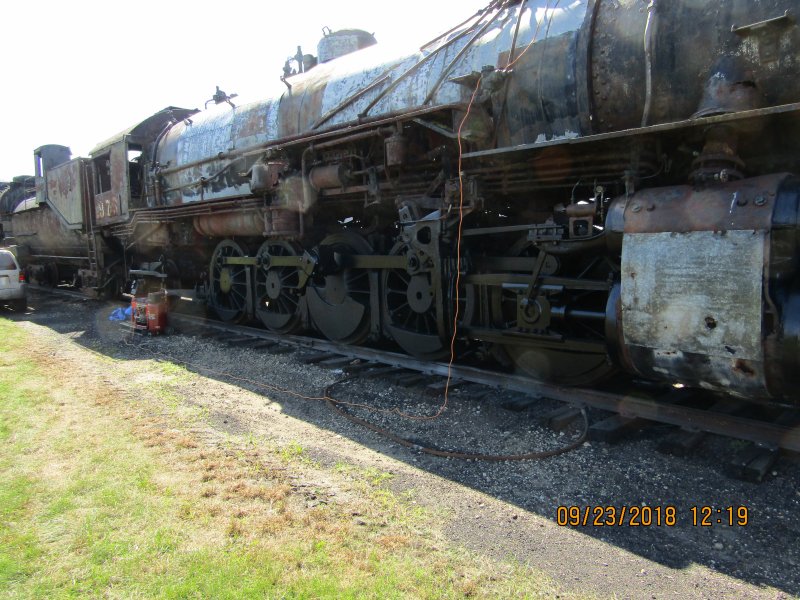 Side view facing East. 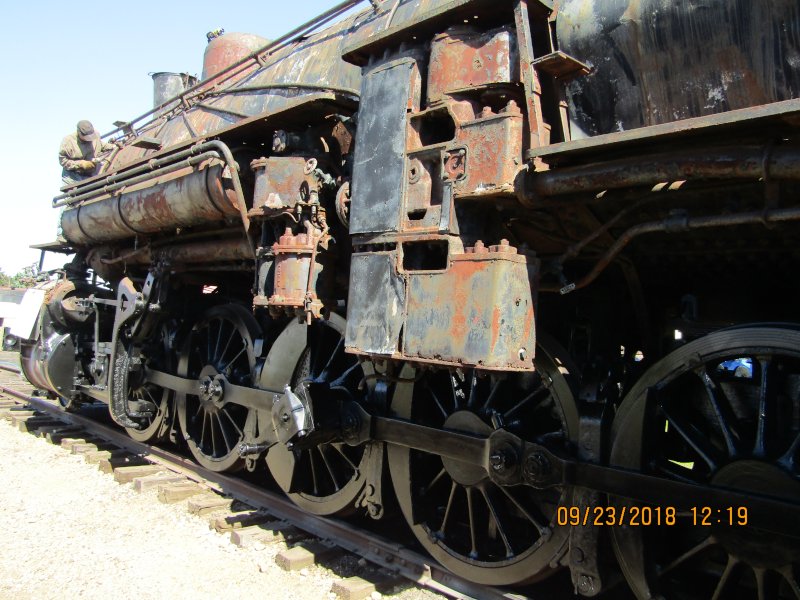 Side view facing West. 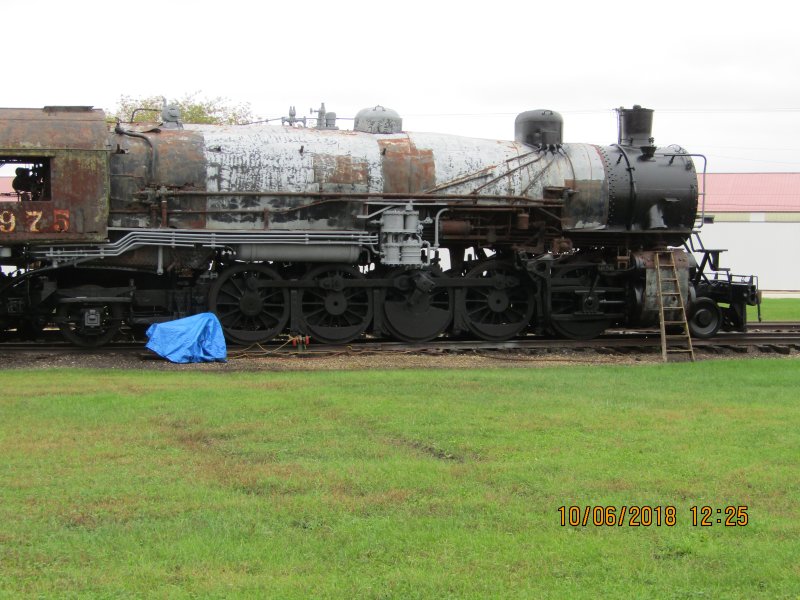 Side view with smoke box painted. 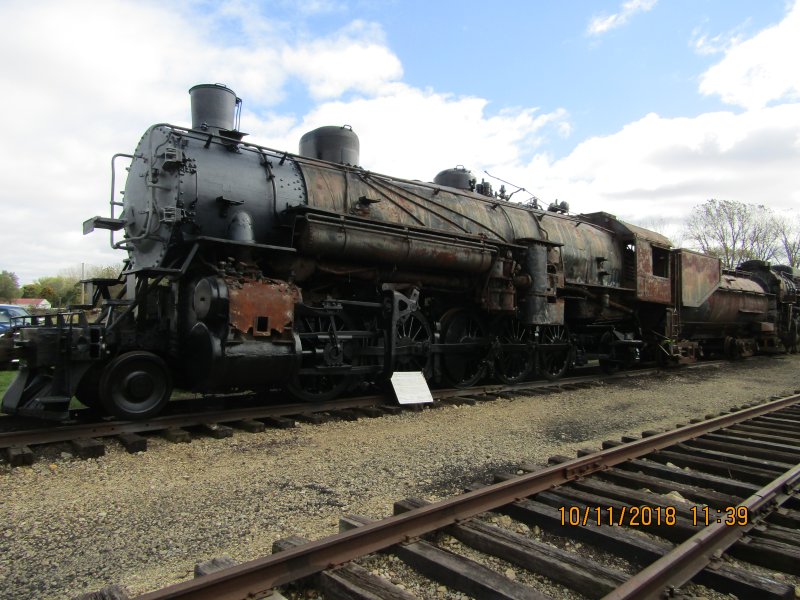 More progress. 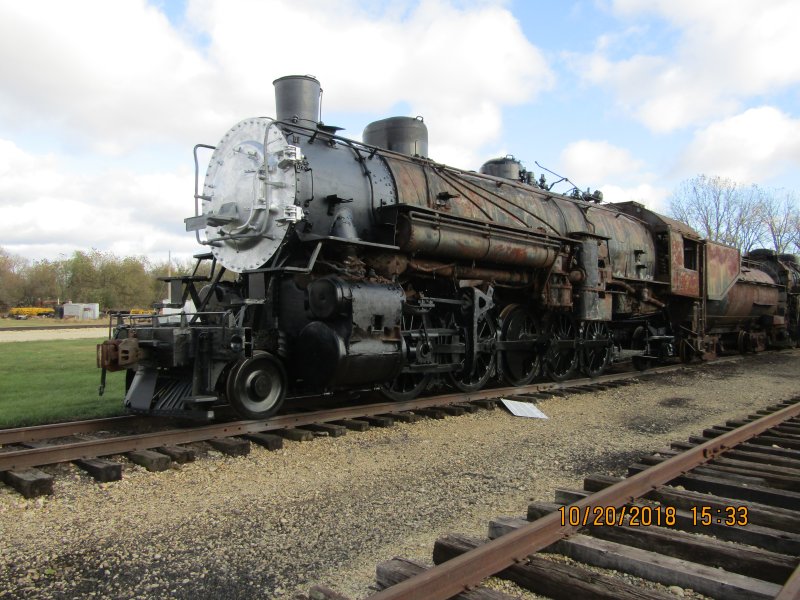 Here Gregg has painted the front of the smoke box gray. 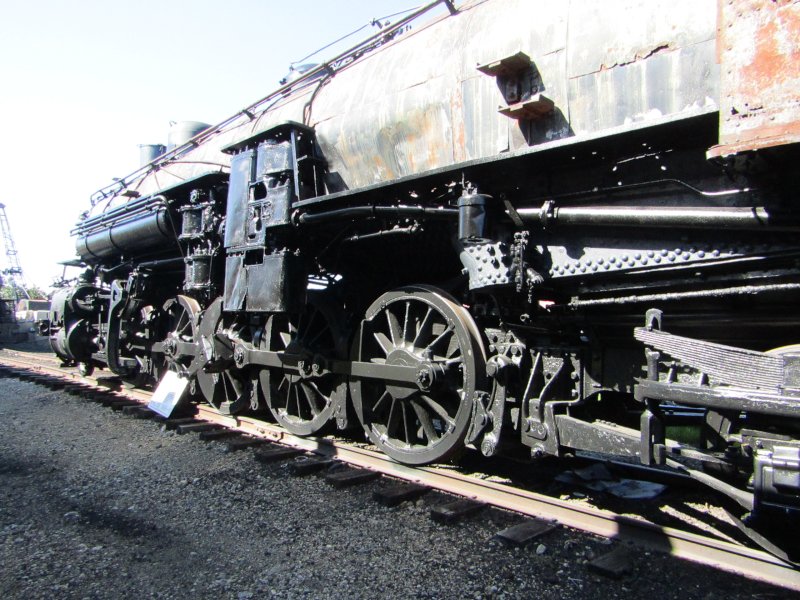 West side where Gregg has prepped and painted most areas. 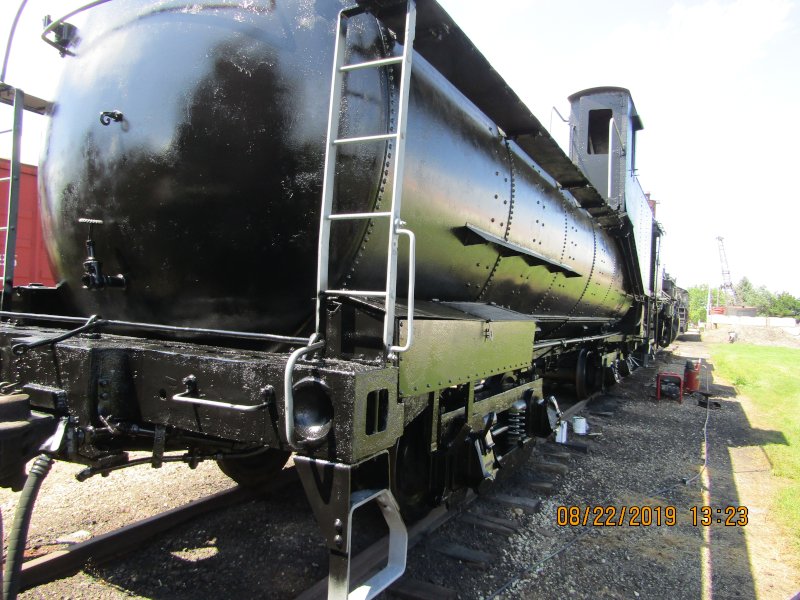 The tender has been painted and hand railings painted white.
 975 almost finished. Lettering has yet to be completed! 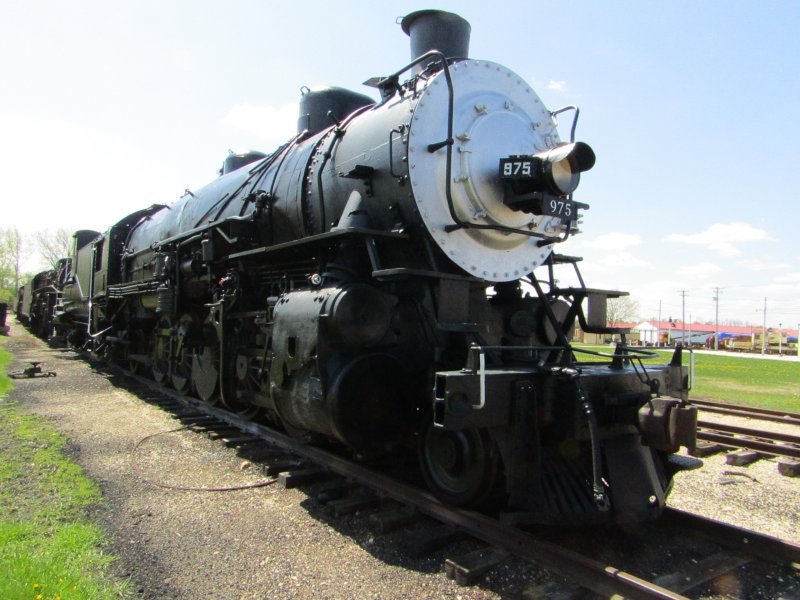 The headlight now is installed. 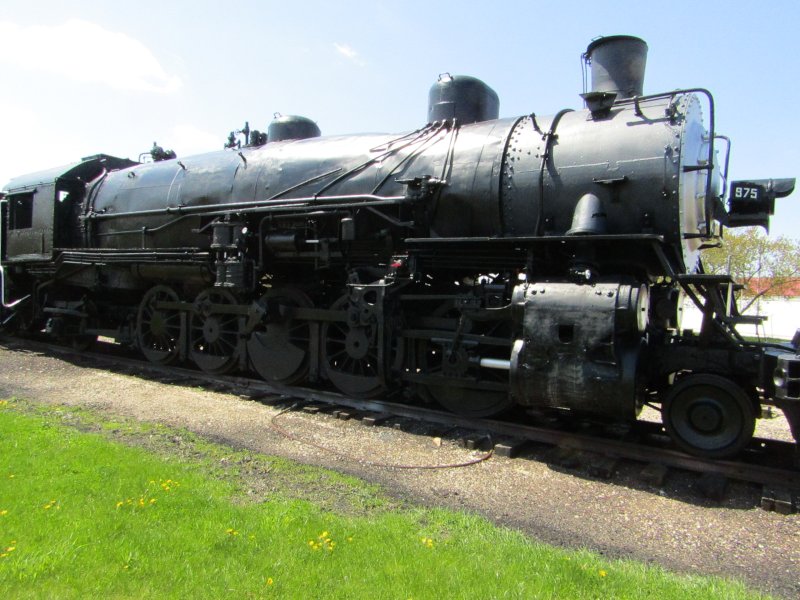 Now it looks like a steam loco. The Headlight sure makes a difference. To preserve the 975 and its paint job we would like to house this engine in a new barn when built. Please send donations to the T & NO 975 fund to help make this happen. Thanks, Roger.
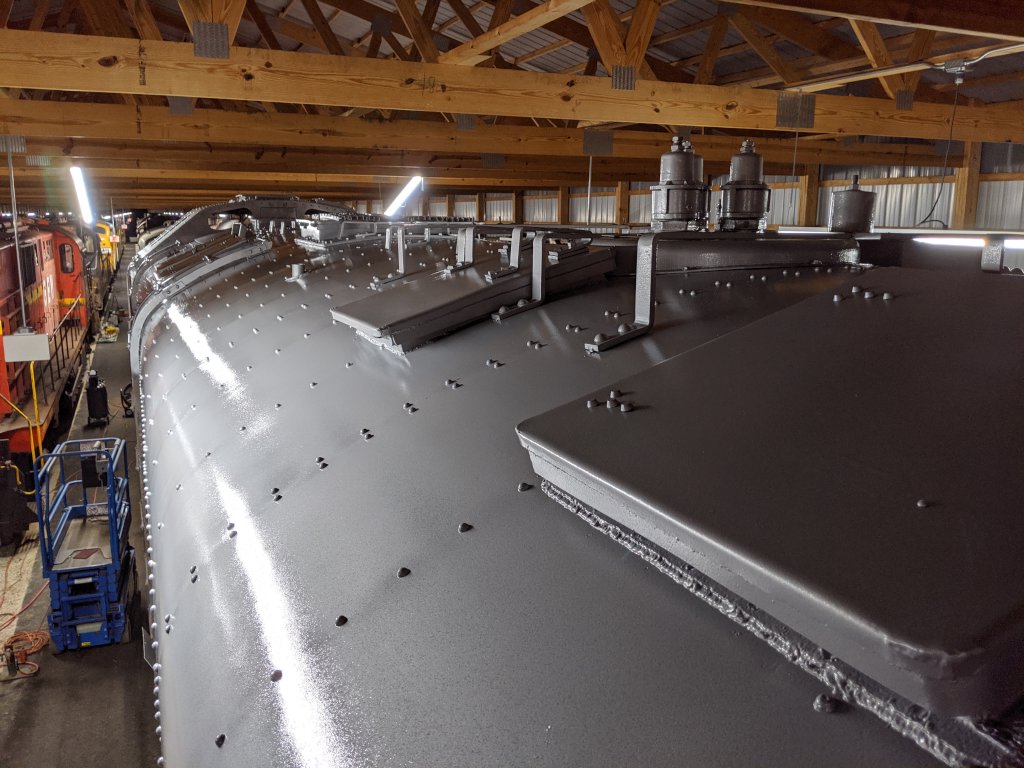
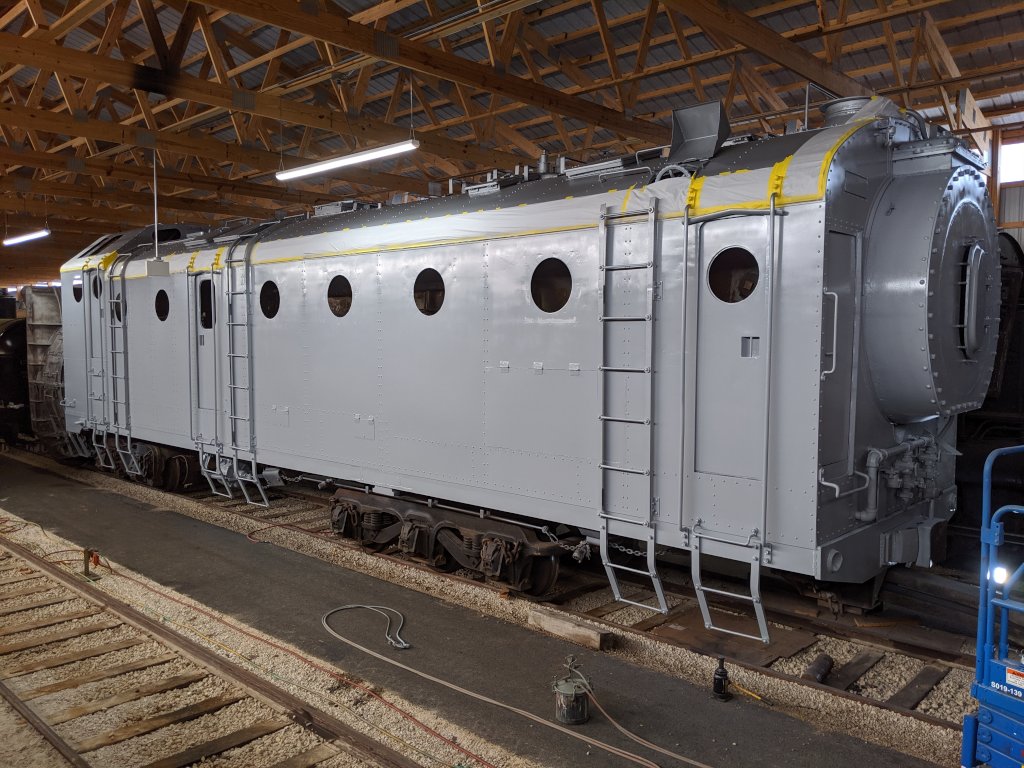
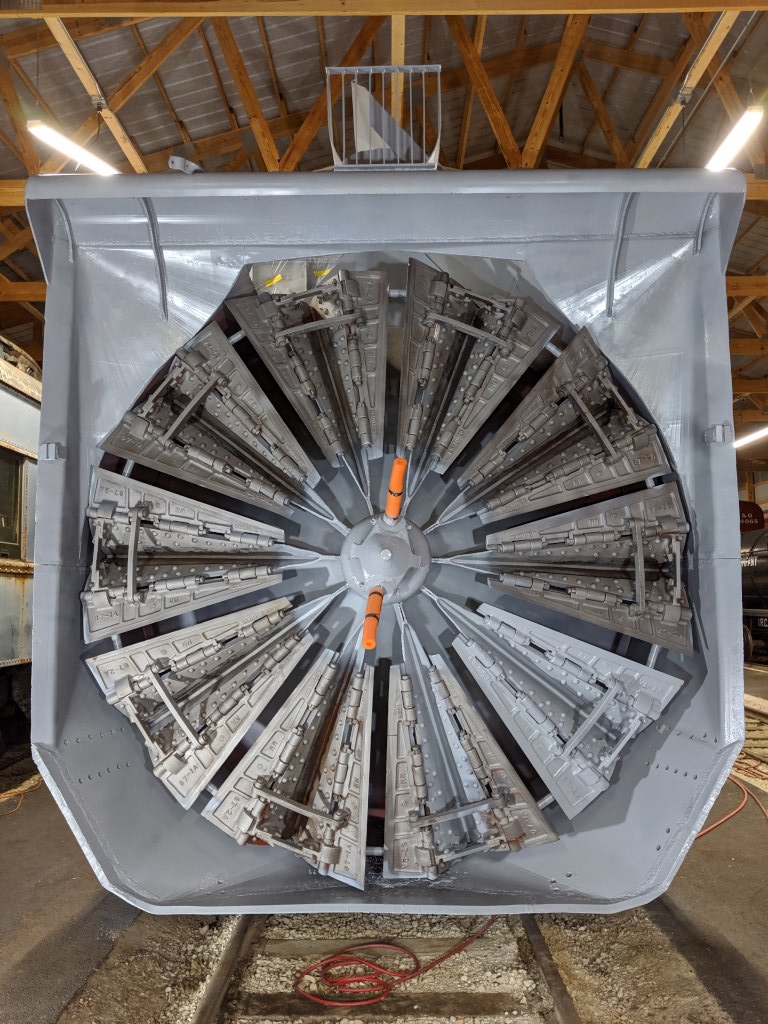
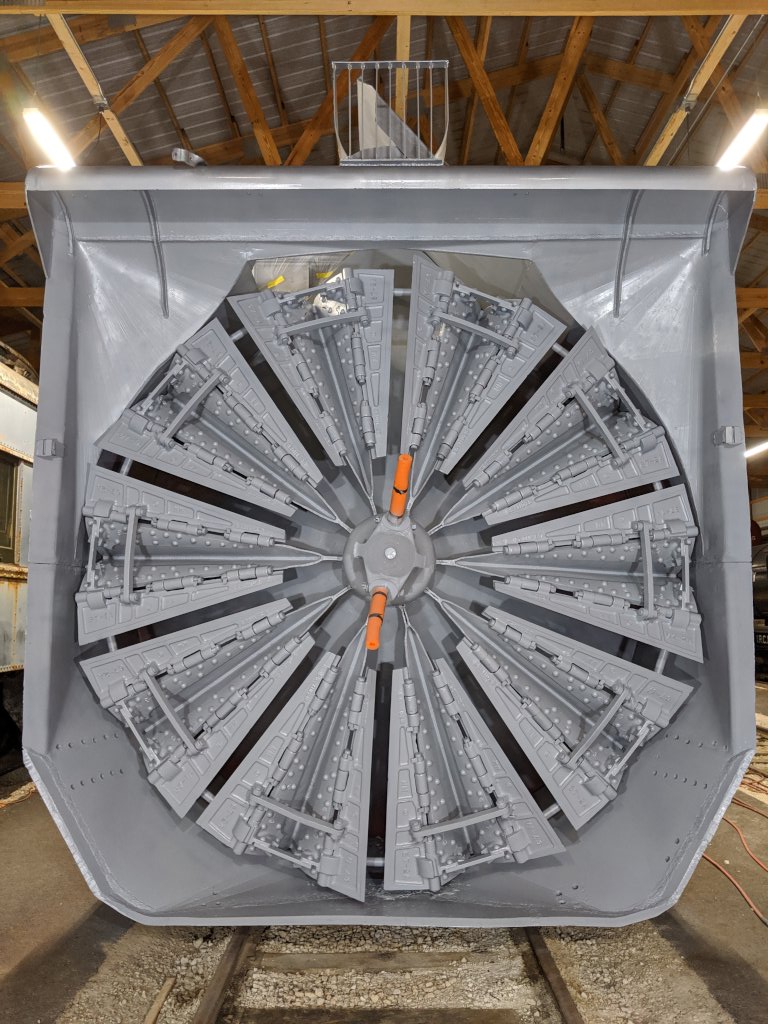
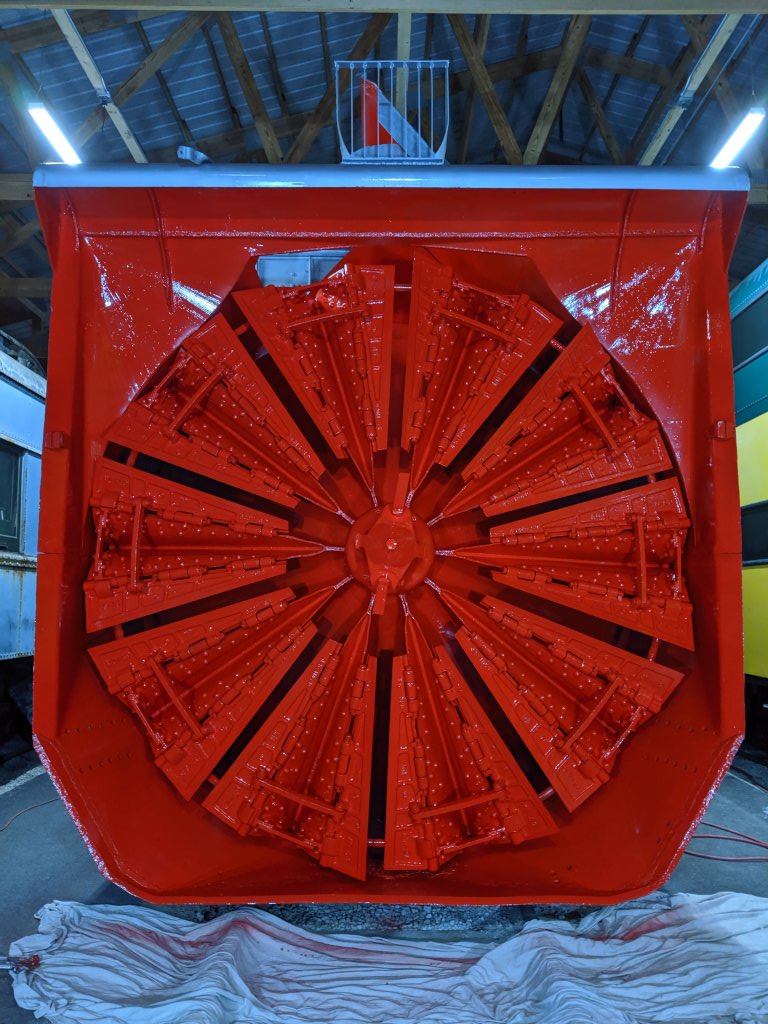
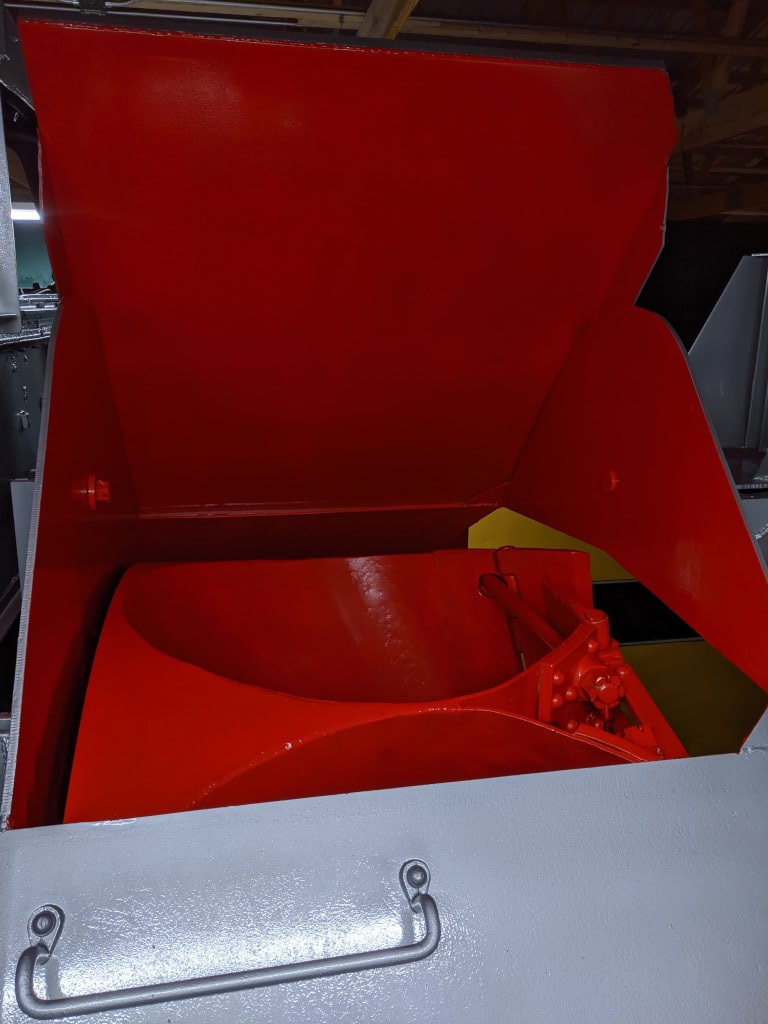
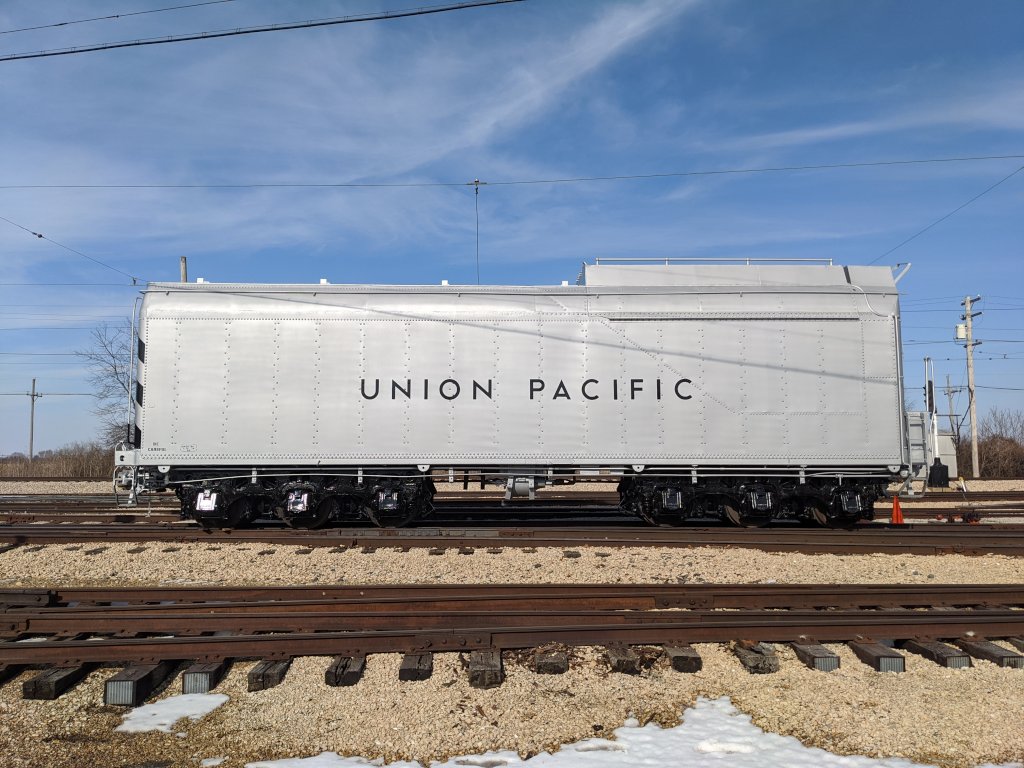
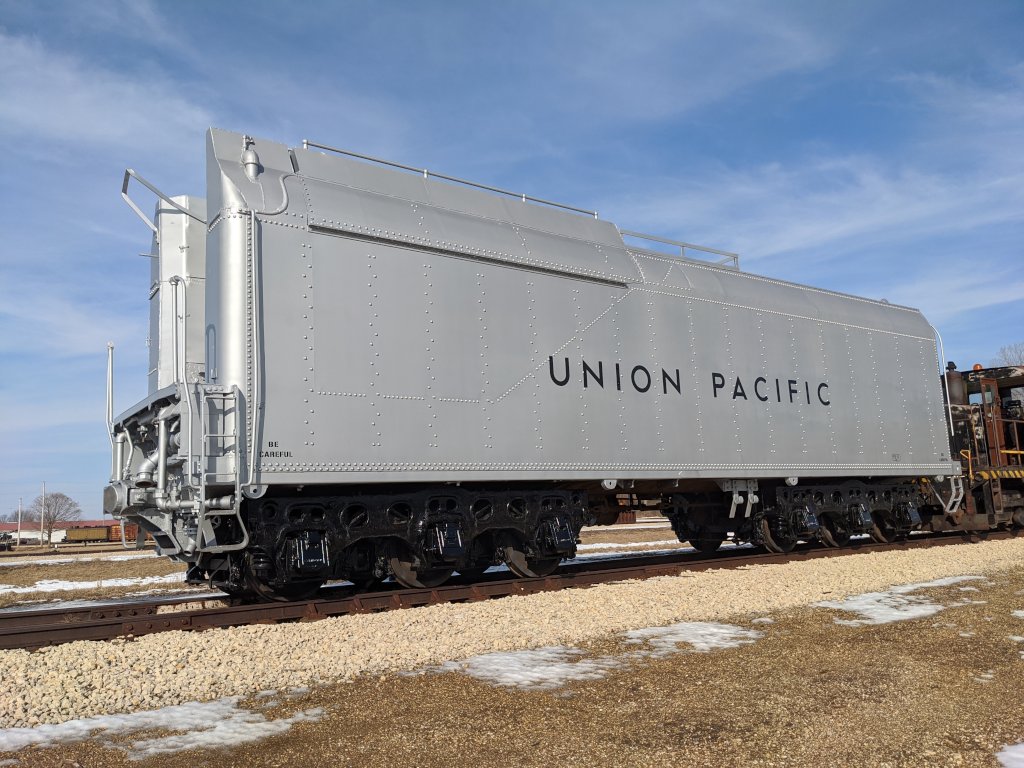
Thursday, April 2. 2020Painting the Union Pacific Rotary SnowplowHere are some of the behind the scenes photos during the priming and painting of the UP rotary snowplow after it had been sand blasted. The main rotary unit was painted in barn 14 as it was the only building tall enough for it to fit in to. The tender was painted in the Diesel Shop as it would be winter by the time we were ready to start working on it.
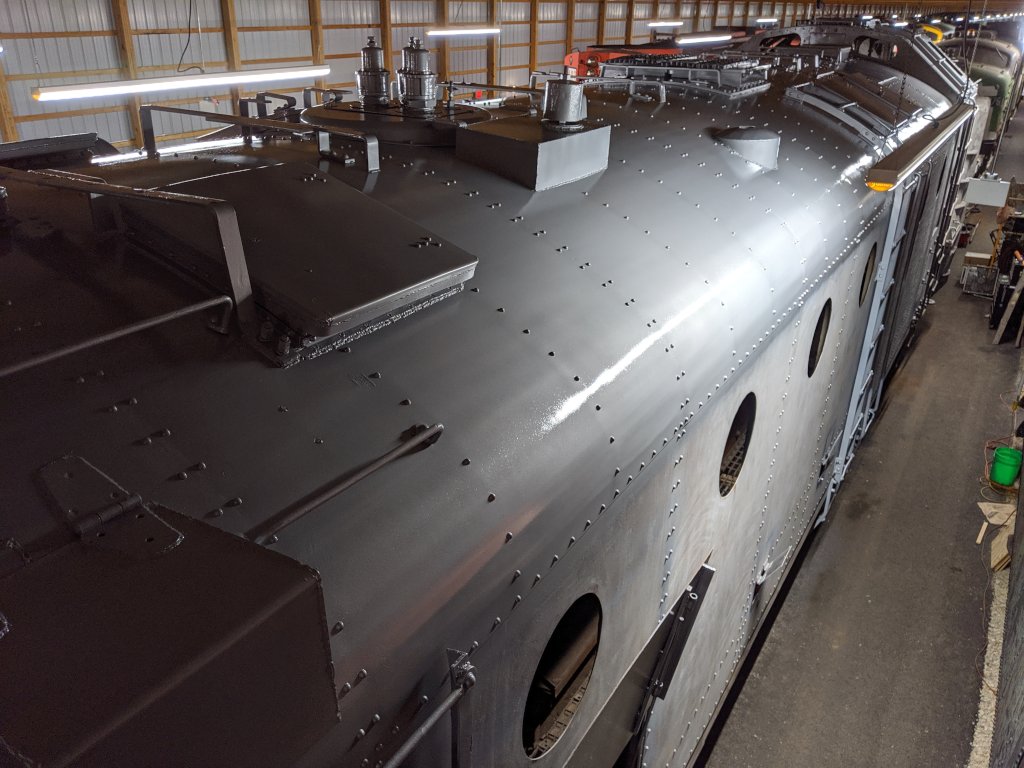
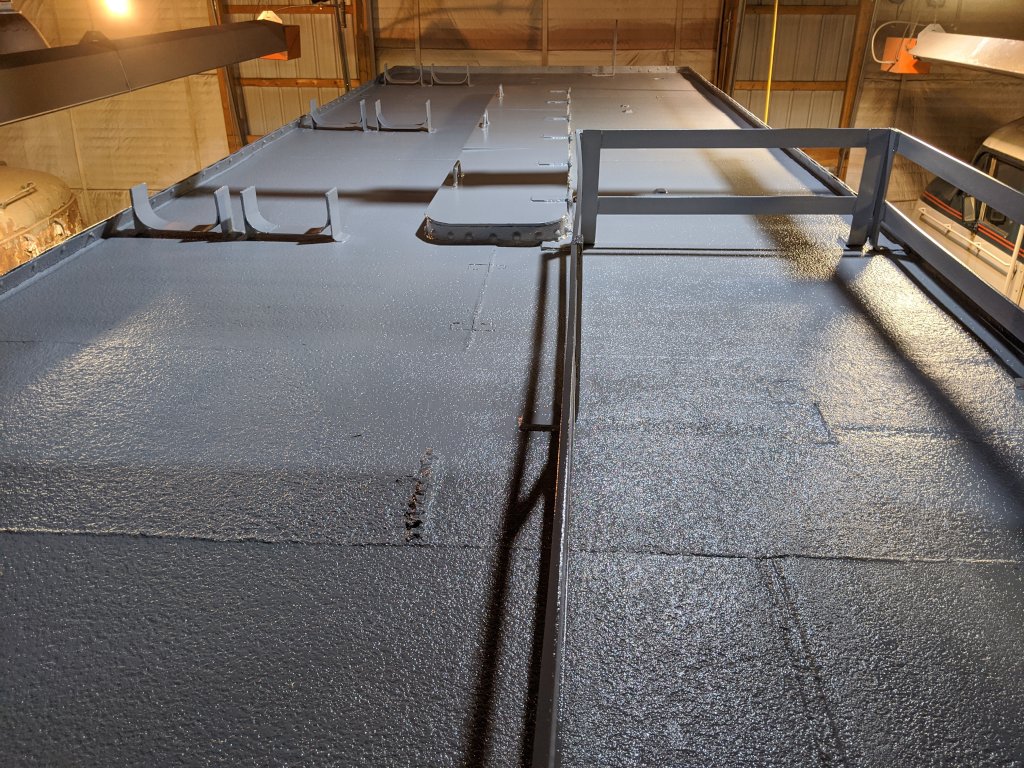
Quite some time ago I had bought a quart sample of the the PPG paint in the color that we thought was right. It wasn't until September 15th when we sprayed a cover to see how it would look. Everyone appeared pretty happy, so we bought the rest in bulk. On September 23rd, we started priming the rotary unit. It was done in 5 sections. We started with priming and painting the roof, then the sides one at a time, priming and painting the round rotary section minus the red, and lastly spraying the red. The roof was the most difficult section to paint. First, this thing is tall. There was only inches of clearance between the hatch and walk treads over the cab and the bottom of the trusses in the building. Then there was so much equipment on the roof... valves and vents and hatches and ladders and brackets, it never ended. It started with one coat of PPG Corrosion Resistant Epoxy primer and was best to be followed up within 24 hours with the first topcoat of PPG AUE-370 paint. The paint could have its second coat not more than 7 days later. The rood was finished on the 26th of September. The masking was done on October 3rd.
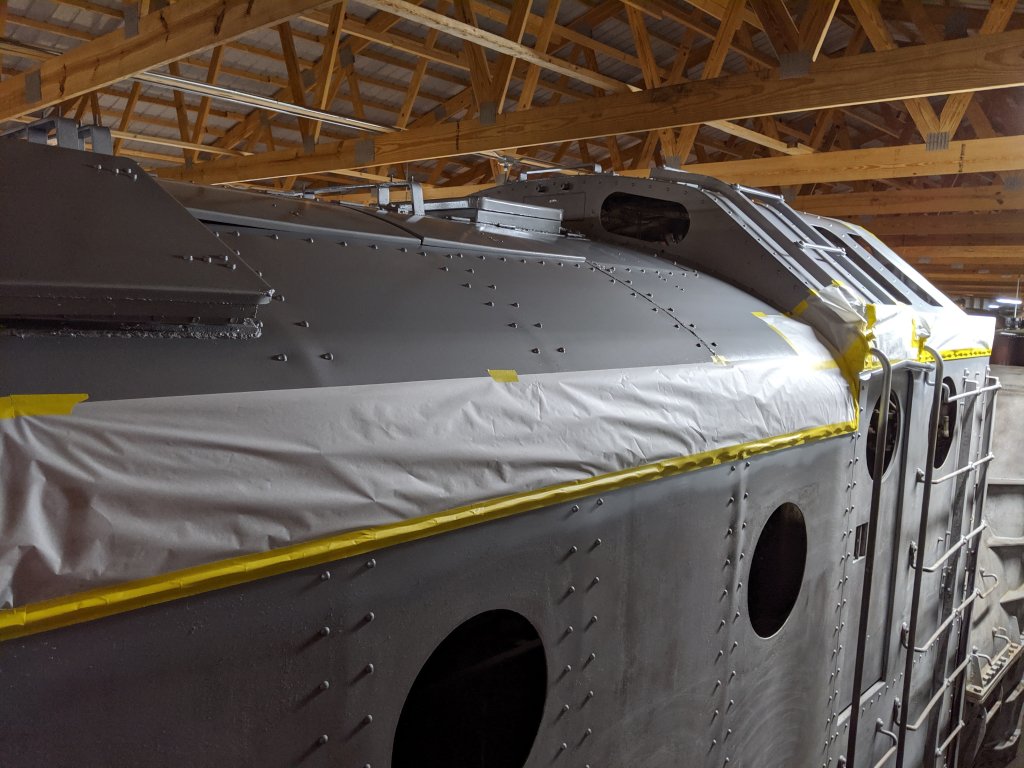
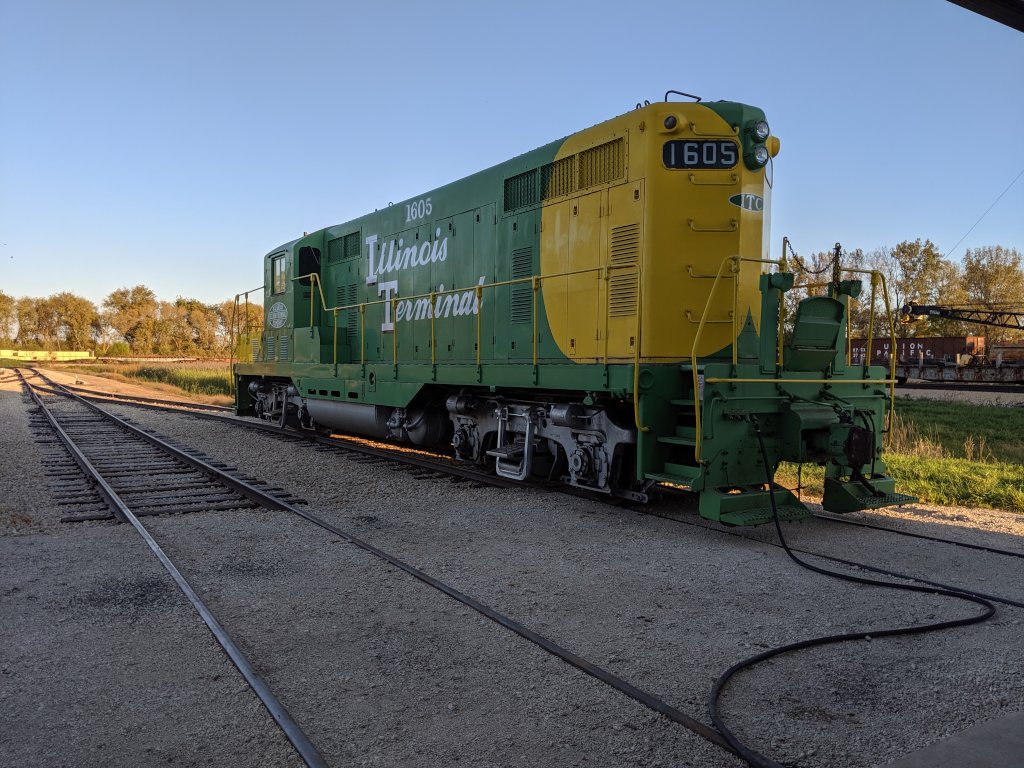
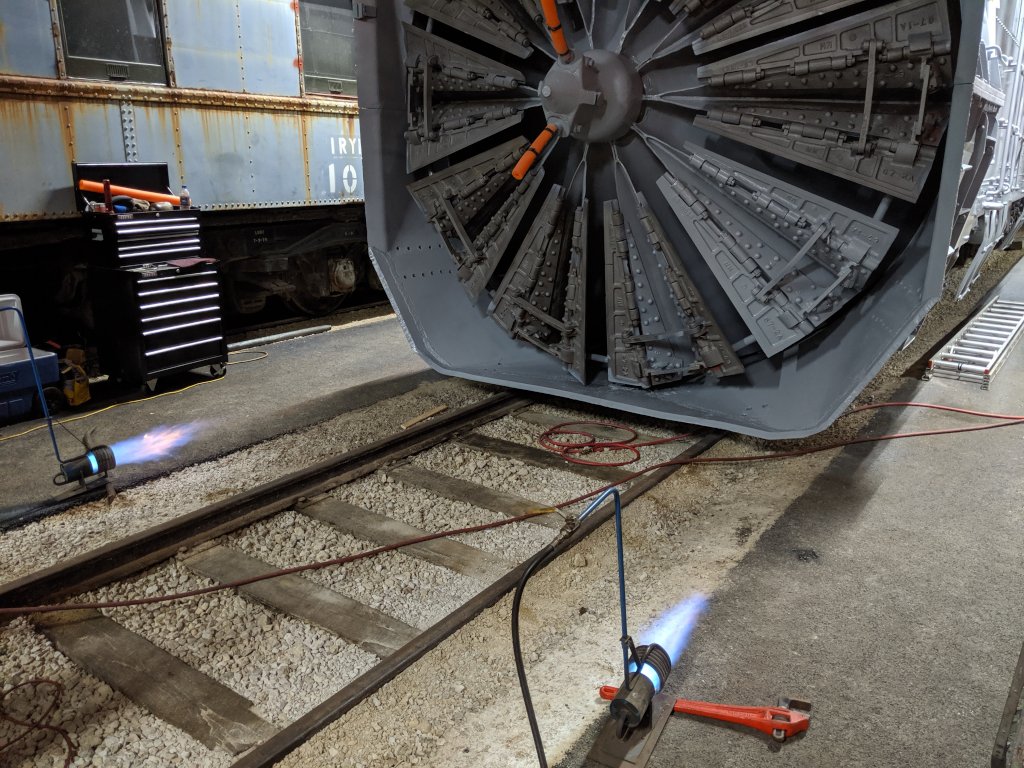
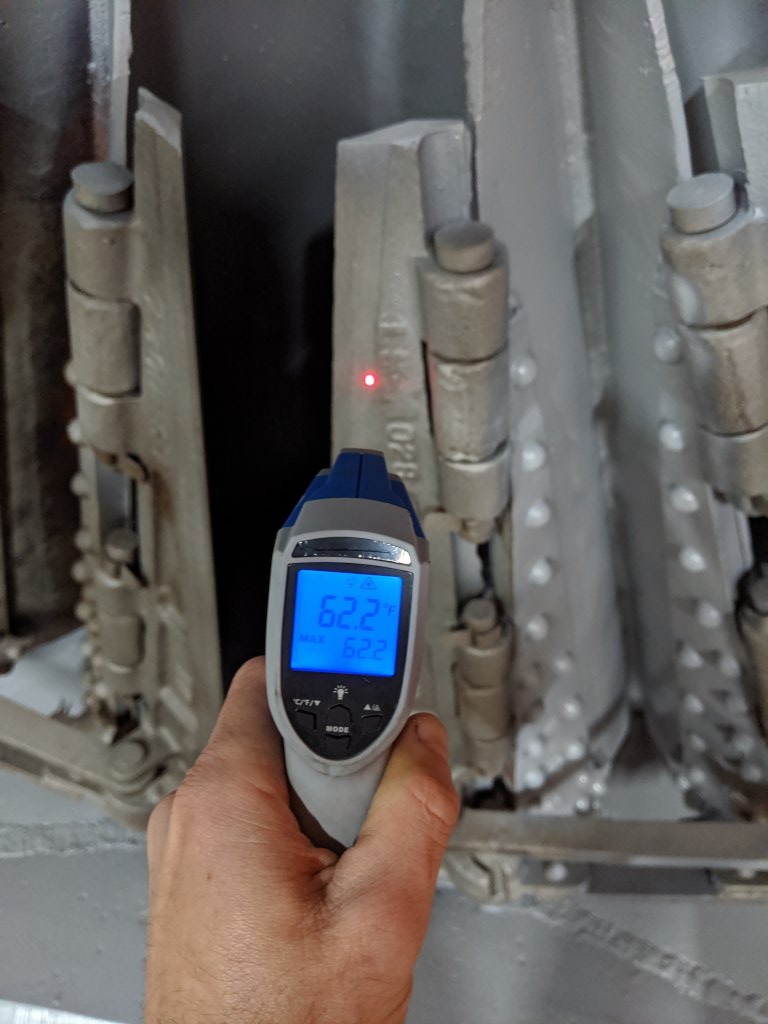
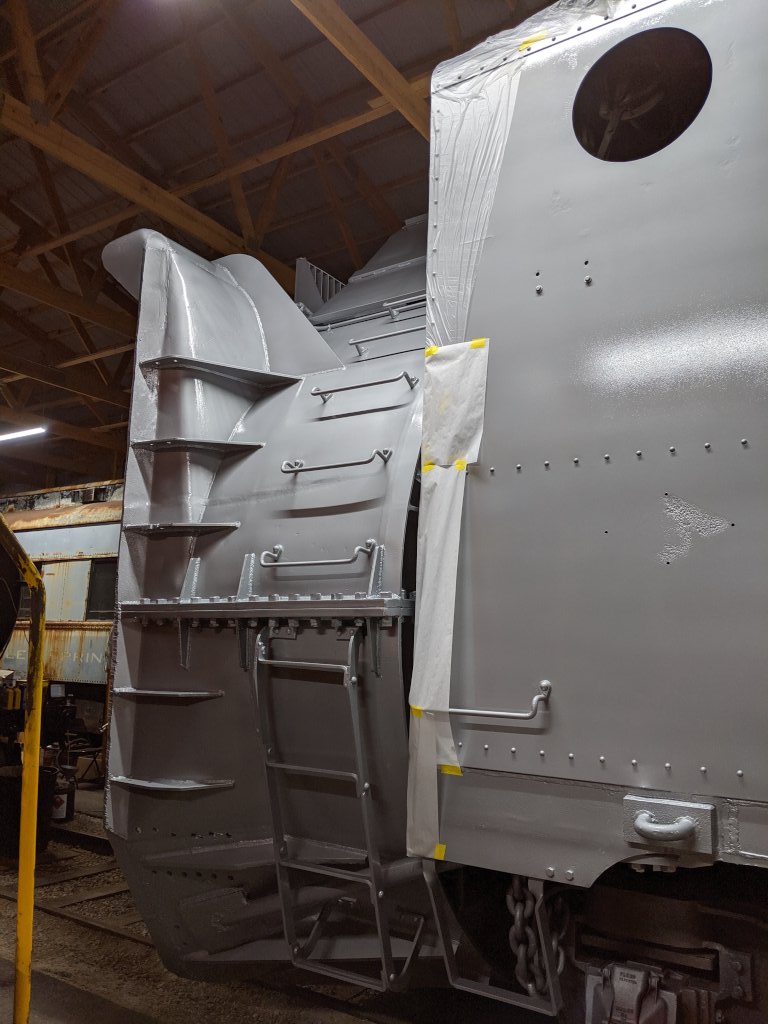
Since barn 14 is a storage building, there is no equipment or source of compressed air. Two portable air compressors were just enough to keep up with the production HVLP spray gun I like to use. One of the compressors died, so I was quick to grab the nearest locomotive, which was 1605, so keep the project going. The larger sullair is far to wet on its air output. 1605 right off the main reservoir MU was perfect and very dry. The sides were started on October 8th and finished on the 9th. Some primer was done on the front section on the 9th, with the leftover mixed for the sides. The remainder was primed on October 18th and the outside that was aluminum color was painted the same evening. By this time the temperatures were getting a little cool, so all the steel was preheated with the propane heaters the steam guys dropped off. The minimum temp was 50 degrees to spray, we brought it up more than that so it was dry some before getting below 50.
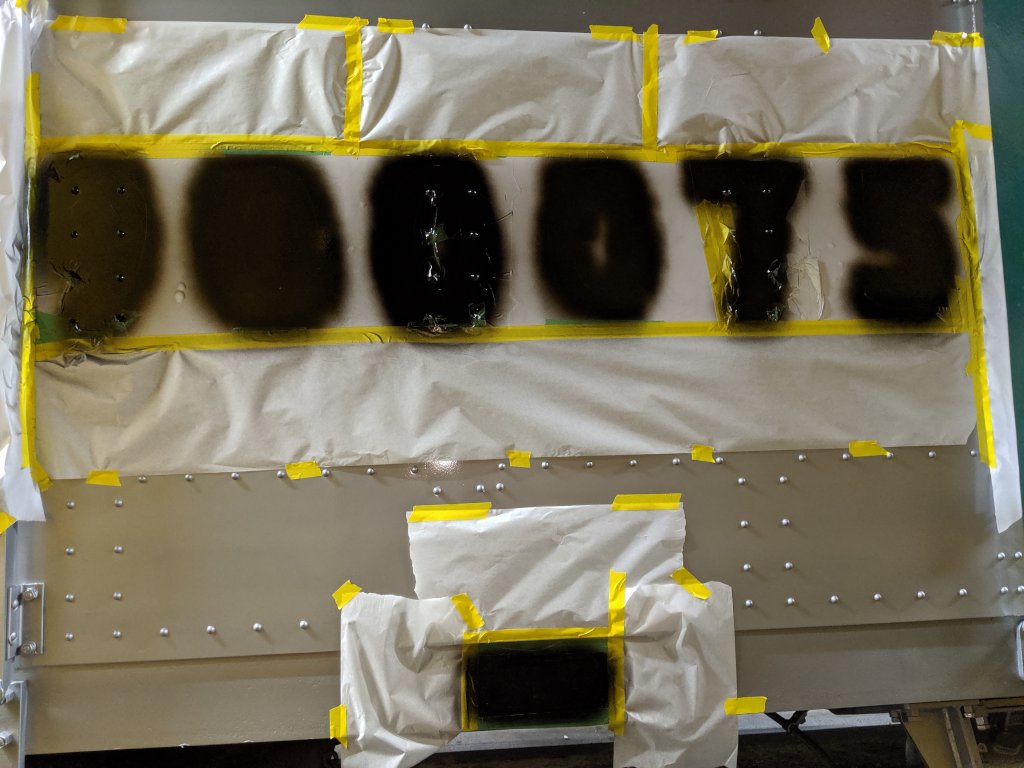
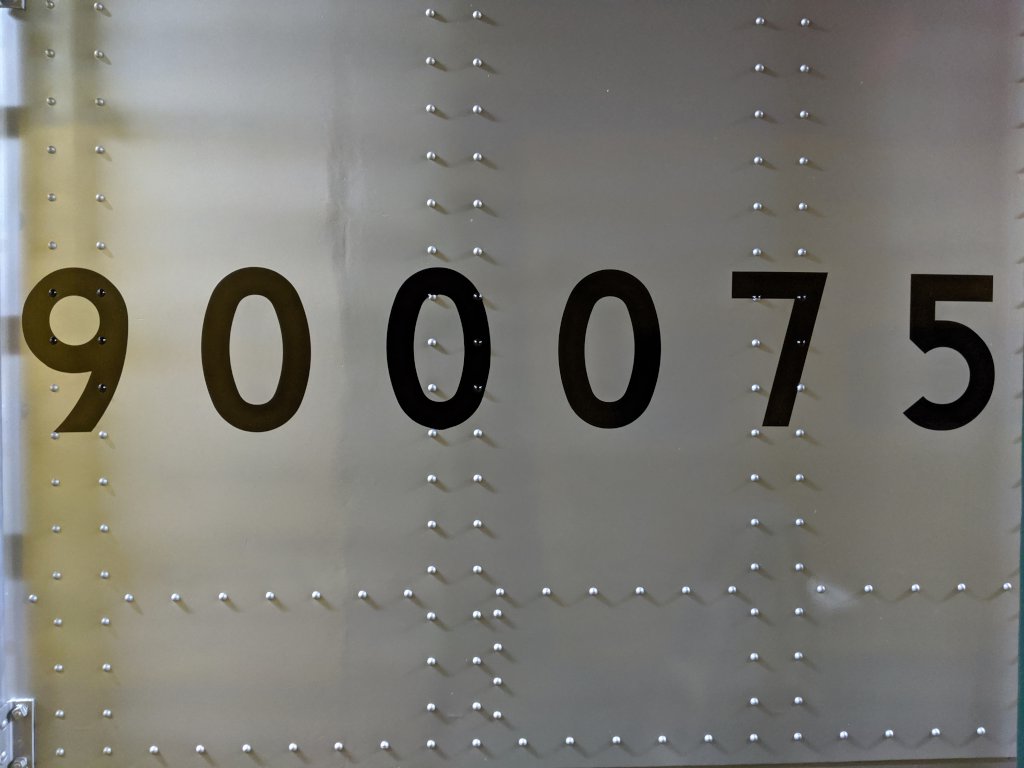
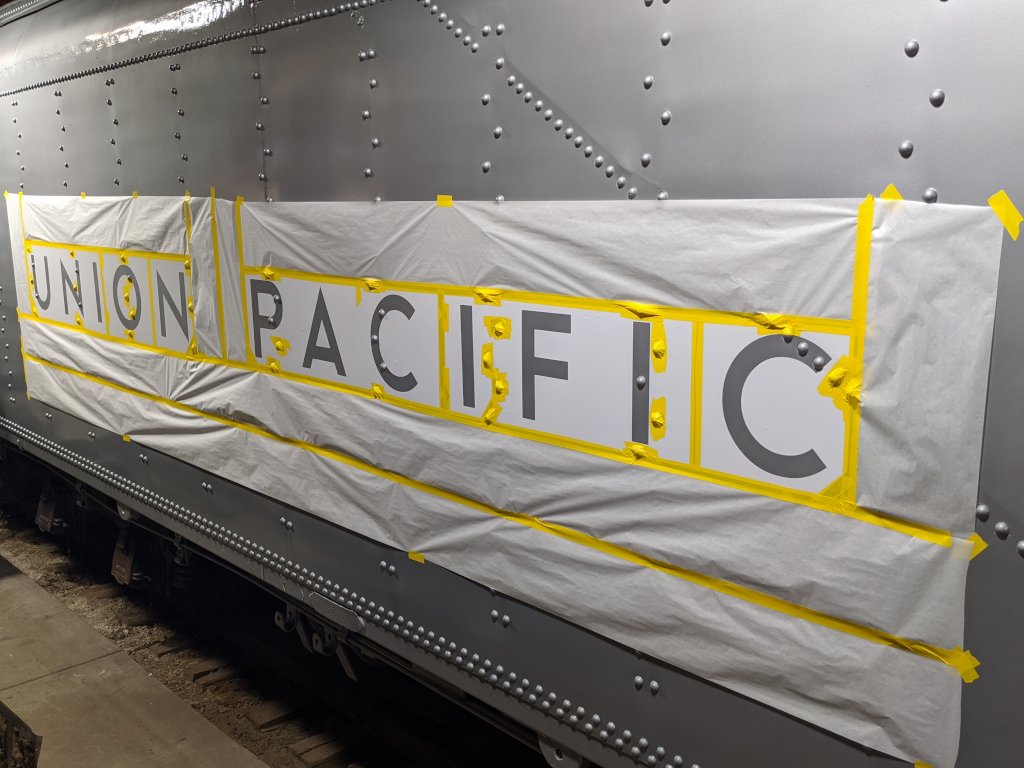
On October 27th, Buzz started applying the stencils for the lettering and numbers, and on the 28th, Gregg and Blake masked all the areas around the stencils. I sprayed a couple coats of black and we stuck around long enough to remove all the stencils while the paint was still a little tacky. The right side of the rotary still needs all the lettering applied. Buzz ran out of time applying them, and then ran out of weather. This will be completed later this spring when the weather is consistently warm again.
The last step was to paint the blades and chute red. That was done the next night on October 29th. Everything was heated up again and two coats done that evening. It had to get done as the forecast was calling for cold temperature later in the week and this was going to be the last chance for any work like this. Aside from lettering on the right side, and painting the trucks black, the main rotary unit is done.
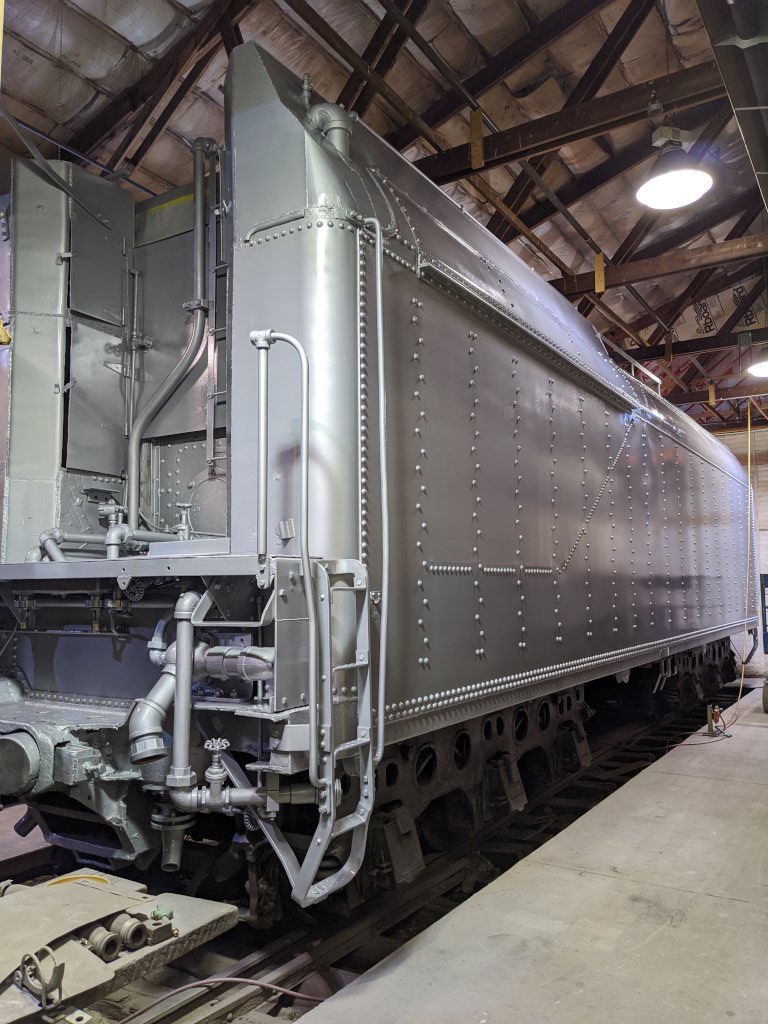
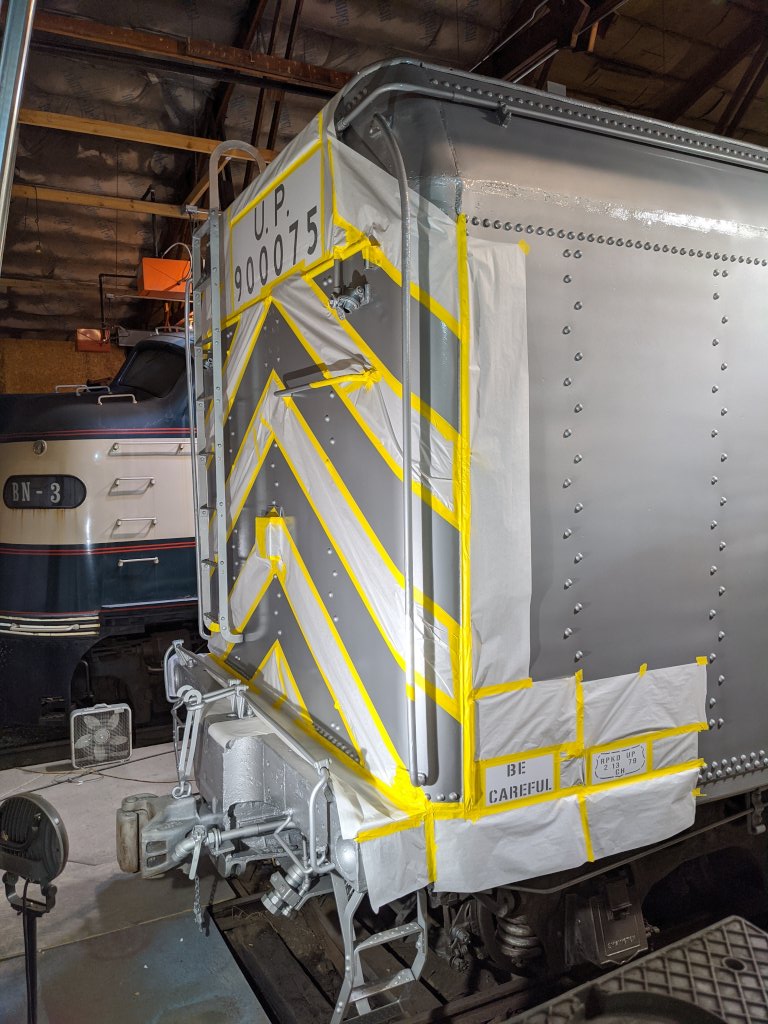
The tender was sand blasted and then moved into the heated Diesel Shop on November 5th. It wouldn't be worked on until January 2020 as we were all focused on getting the train ready for the Happy Holiday Railway Christmas event. The roof of the tender was primed and painted January 4th and 5th. Then the painter went on vacation for three weeks. On January 31st, the right side was primed and painted over the next two days. The left side, front and rear were primed and painted starting on February 8th and were completed on 9th.
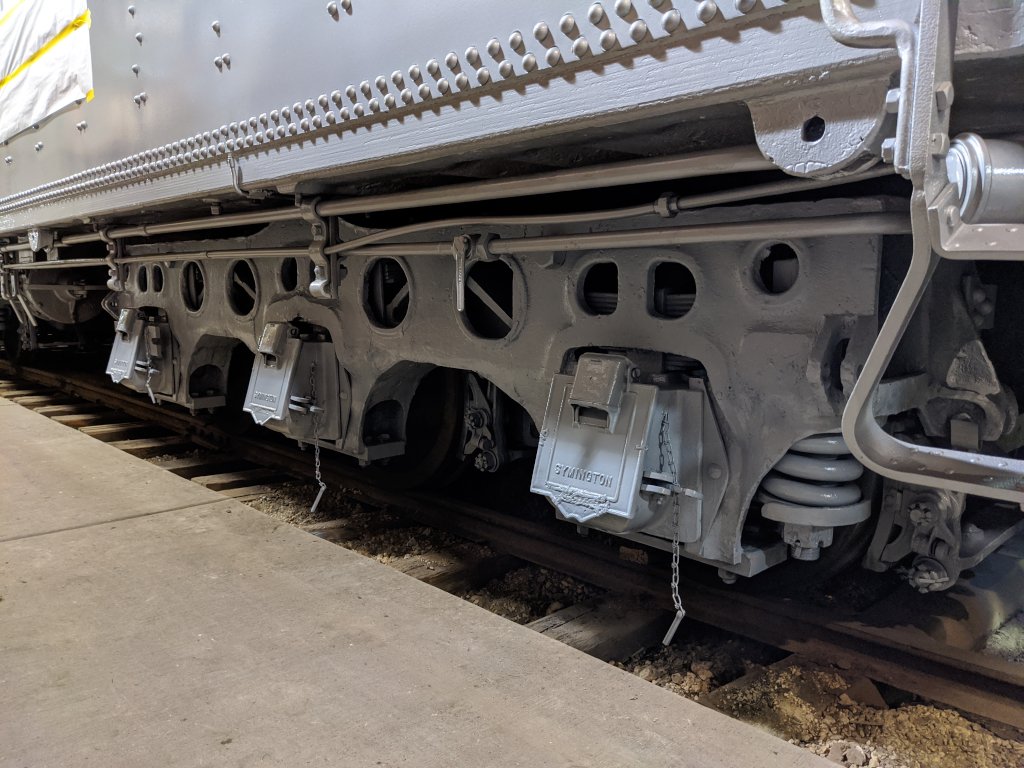
The week after, Kym, Gregg, and a number of others wire wheeled the trucks and completed all the prep on those so they could be primed and painted. On the 15th, Roger and I applied all the stencils for the lettering and we all masked off all the areas around so the black could be sprayed over the lettering. This was completed on the 16th and 17th, with all the masking being removed the same day.
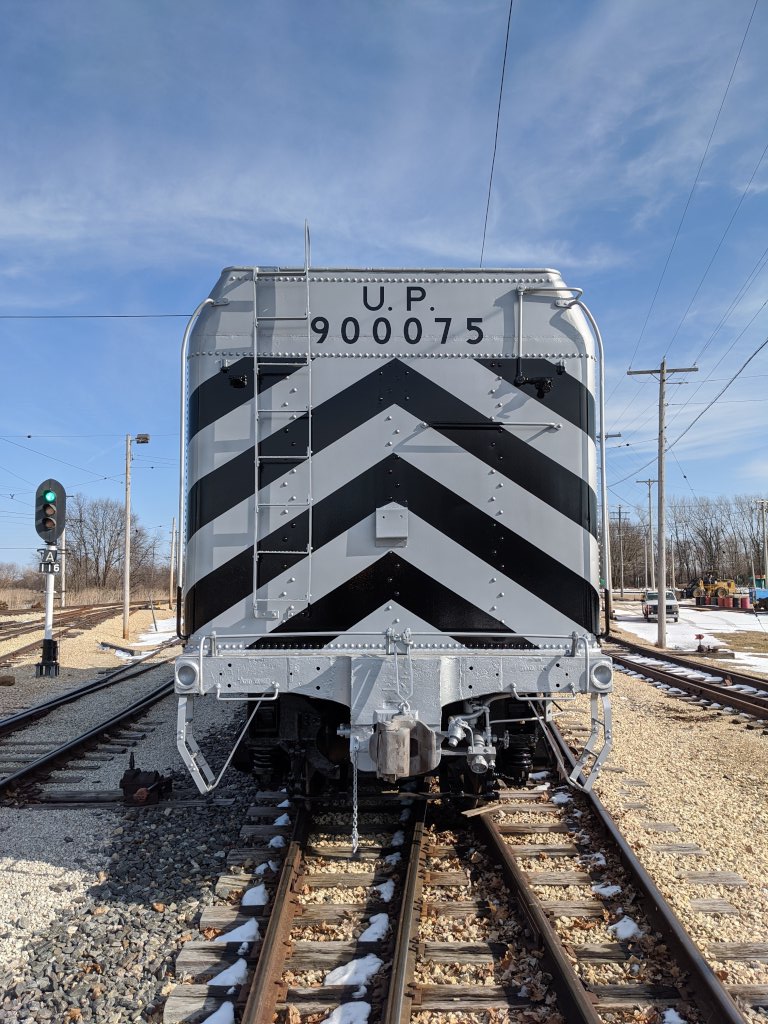
The tender was moved out of the Diesel Shop on the 22nd and moved back to barn 14 with the main rotary unit. All that remains is the roof walk platforms, a bunch of things that connect the tender to the main unit, safety chains and such. All of which will be done as time permits through the remainder of the winter and spring.
There are many more photos during the painting process. You are welcome to view a slideshow of them all by following this link in our photo gallery. The slide show will advance automatically at 3 seconds per photo and you can change some of the available options. Enjoy! |
Blog AdministrationCalendar
QuicksearchArchivesSyndicate This Blog |
|||||||||||||||||||||||||||||||||||||||||||||||||


Comments
Fri, 03-29-2024 21:26
We're slackers and spend more time working on the equipment in the shop than keeping all you readers updated. We'll work on it, but I'm sure updates [...]
Thu, 03-14-2024 08:02
What happened to the Department Blog? It's been over 2 years and I still regularly check for updates, but nothing comes...
Mon, 12-27-2021 16:28
Happy New Year to all the Departments at the Illinois railway Museum! Thanks for all the good work you do in railroad preservation. Ted Miles, [...]
Wed, 10-13-2021 13:33
Was the CB&Q 1309 every transported to IRM?I’ve been reading old issues of Rail&Wire and the car was mentioned several times.
Mon, 06-07-2021 22:40
I was wondering if in the model layout display what scale would you guys be using and would you be displaying model train history as well? Just [...]
Wed, 06-02-2021 17:27
Nice to see 428's cab back on. Looking forward to when it is operable!
Tue, 06-01-2021 16:47
I hope the work will continue on the UP #428. Now that they are the museum's connection to the national railroad network; she would be very [...]
Sat, 04-17-2021 23:07
What is the status of 126, the Milwaukee Buffet car that is in S. Dakota? Any guess on when or if it will get to IRM?
Wed, 04-14-2021 21:09
Perhaps it is time to scrap the remains of the c, B & Q 7128 to make room for the Villa Real. Ted miles, IRM member
Wed, 04-14-2021 15:26
Hi IRM my name is Jason and I was wonder If you guys would be willing to save a CN Dash8-40cm they are currently being retired by CN and being [...]
Fri, 04-09-2021 19:56
Bear in mind that the Nebraska Zephyr is an articulated train set, so cars cannot be inserted at will. Although cars and/or a second engine could be [...]
Wed, 03-31-2021 11:37
I believe Silver Pony is currently on the back burner, and has been put into storage in one of the barns. The car needs a lot of work done to it's [...]