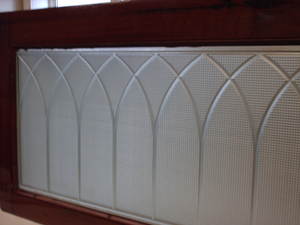
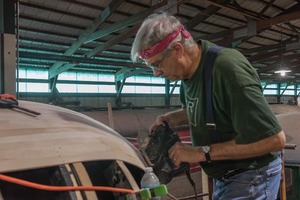
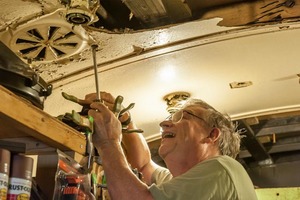
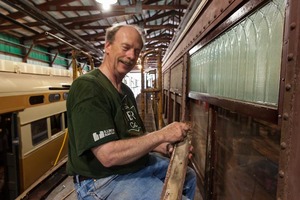
Tuesday, August 7. 2012Michigan Electric 28 Update - August 5, 2012More Side Window Replacement and Roof Slat Installation On Sunday, Norm Krentel and Ray Schmid were successful in installing five restored windows into the right rear window openings. Two storm window sashes and two lower sashes were installed along with one interior upper sash. All the wood stops and trim pieces were also screwed in place to hold the windows. The pictures below show the finished upper sash. Side note: Only the interior upper sash contains pressed prism glass that is frosted. The exterior pressed prism glass is clear. The pattern on both windows is identical. The light coming through the newly cleaned prism glass is making these windows appear much more attractive now that the raised arch pattern can be seen. 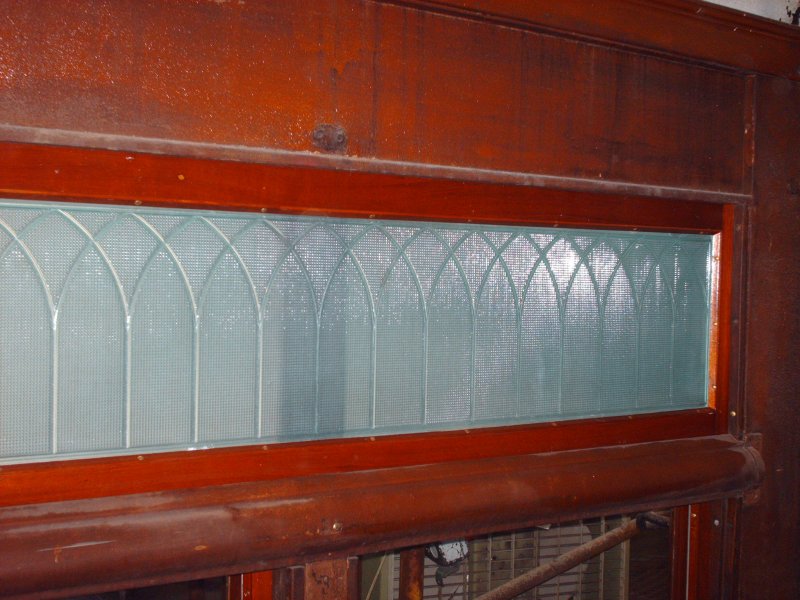 Installed Interior Upper Sash 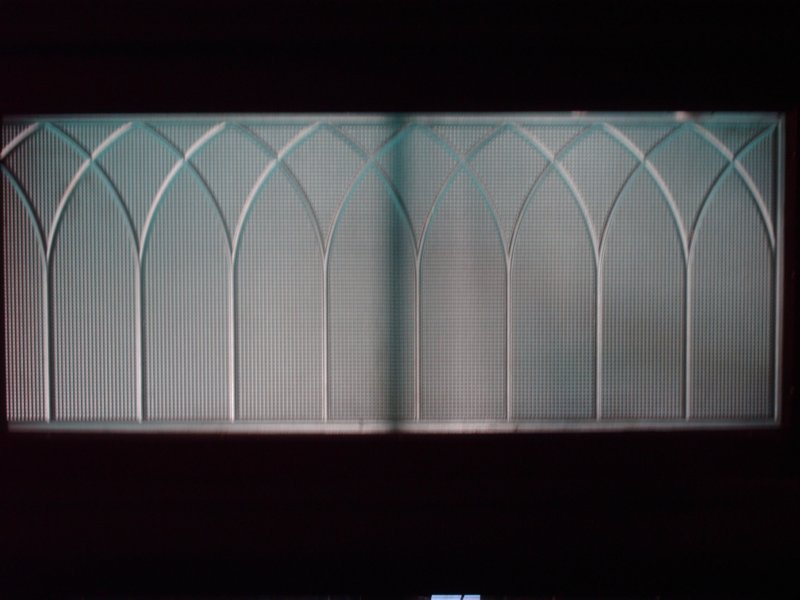 Prism Glass Patterm Jeff Brady is shown below nailing the second and final layer of slats over the first. Each basswood slat needs to be hand tapered and fitted so that it will lay flat on the rear curved roof. He is finished with the second layer where the slats will bend without breaking. The side slats on the left and right have such a severe bend that they will break in two or split if they are bent dry. These will require Jeff to treat them with steam until they become more pliable. Once bent and nailed, the steam treated slats will retain their shape after drying. With the 90 to 100 degree weather we are having this summer Jeff is waiting for the weather to cool before using steam in the car barn. I think this is a wise decision! 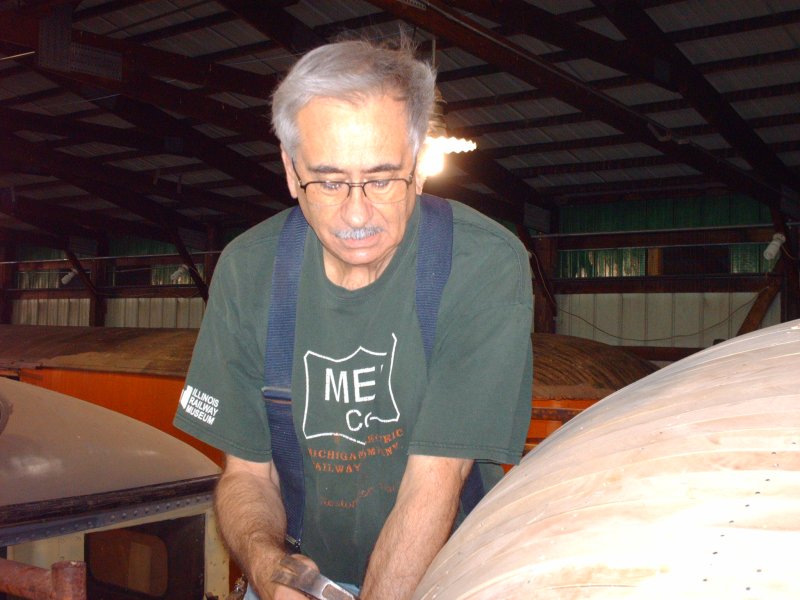 Jeff nailing roof slats  Shaving and fitting the slats Thursday, August 2. 2012Michigan Electric 28 Update - August 2, 2012Roof Slat Installation and Side Window Replacement Continues! Jeff Brady is shown below belt sanding the first layer of rear roof mounted wood slats. In the blazing heat this summer, he is nailing the second and final layer over the first. The front and rear will both have two layers of slats that create the contour of the roof. The center carlines of the roof were covered with formed Masonite hard board that has now been painted with a flat black primer. Holes were recently cut by Walt Staffa (not pictured) for the roof vents that will be added following the installation of the canvas roof covering. Shown below is Doug Johnson removing the vent louvers inside the car before Walt cut the holes in the Masonite roof. Norm Krentel continues to disassemble the window sash openings to repair or replace the numerous pieces of wood stops or guides, and metal post caps while the sashes are out for restoration. Upon their return, the sashes are fitted with latches or lifts that will allow the passengers to operate the windows. Several window openings have been completed with the restored windows.
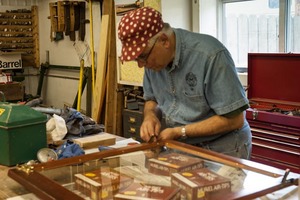
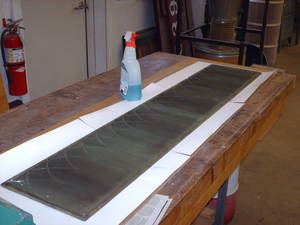
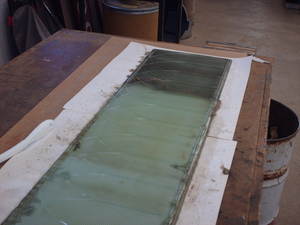
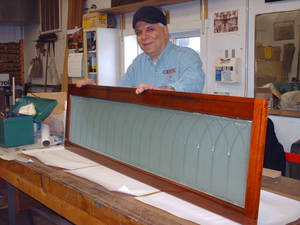
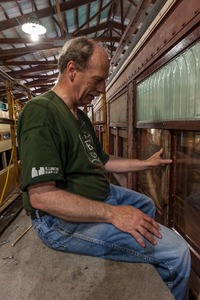
Ray Schmid is shown below installing the latches and lifts to the restored lower sashes. Also shown is Ray’s process for cleaning each pane of ornate upper sash glass before he sets them into the restored frames. There are interior and exterior upper sashes that span a set of two lower sashes. Ray has installed several cleaned panes into the waiting frames. Several of the pressed glass upper sashes have been installed on the car this summer. The press glass exterior upper sashes were painted white while the car was used as a cabin in Michigan and did not allow light to pass into the interior of the car. After paint removal and cleaning, the newly installed sashes make a huge difference in the appearance of the car. The before and after result is amazing! See for yourself in the above pictures in front of Norm.
Thursday, August 2. 2012TMS Project Update - August 1, 2012Let's talk about brakes and stopping of a streetcar. Many grasp the concept that the motorman's brake valve sends air pressure to a cylinder. That extends a piston and rod and somehow though bell cranks and more levers and rods, move the brake shoes to grip the wheel treads and stop the car. As they say the devil is in the details. A streetcar goes around some pretty sharp curves, and if a conventional system of levers was used, the act of that truck rotating and pivoting would serve to apply the brakes unintentionally. In fact that is what happened on many early designs. The designers came up with many ways to overcome this. Basically some way to direct the force toward the center pivot of the truck, thereby isolating any unwanted forces, regardless of the orientation of the truck and the curvature of the track ti was negotiating. Which brings us to our project car, TM 972. They used a heavy circular plate, an arc or portion of a circle, hung above the rear frame member of the truck. The brake rod from the cylinder came close to that and then was connected to a harp or something with rollers or sliders that could move left or right along that arc. Thus, if correctly designed and installed, the braking for the truck would be relatively independent of its rotation. The second part of the equation is how to release the brakes. As air is released from the brake cylinder, there is nothing to make the piston return to its position of rest. So again, perhaps more levers and springs to pull the brake shoes off of the wheel treads. On our project car that system of parts was worn badly, almost to the point of failure. Clearly the company in Milwaukee was not investing in anything but absolutely minimum needed maintenance and repairs. Now that the new wheels are on, and the truck almost 100% rebuilt, the assembly work continues. In the case of the above mentioned description we find that many parts need replacement. 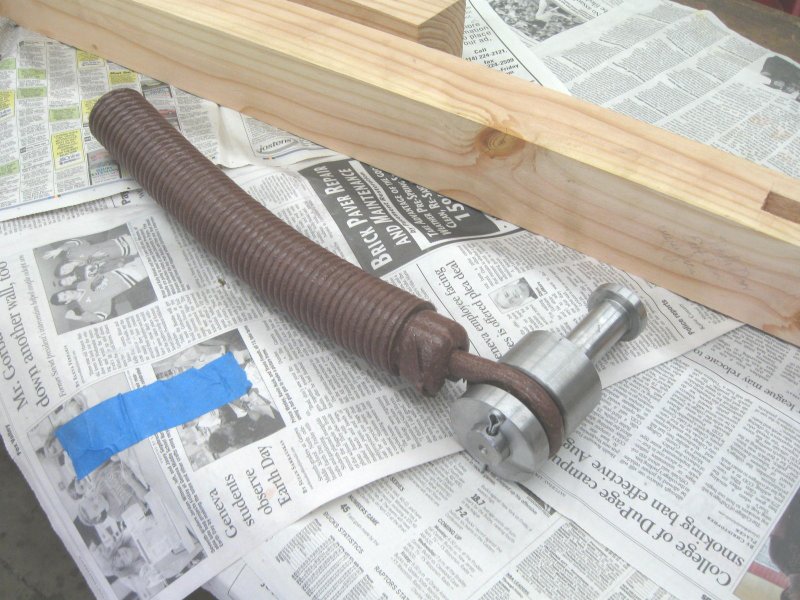 Spring Anchor So here is the assembly for the return spring. Four nicely machined NEW parts that fit perfectly! I am constantly amazed at the depth of knowledge and skills of our volunteers. You cannot go buy any such parts, or find an instruction manual on the internet. Yet they have the mechanical common sense to understand the design, to determine if replacement is needed, to machine new parts and thus help insure long term preservation. WOW! |
Blog AdministrationCalendar
QuicksearchArchivesSyndicate This Blog |
|||||||||||||||||||||||||||||||||||||||||||||||||

Comments
Tue, 06-02-2026 19:38
Always a treat when a new diesel comes to IRM! Only wish we'd get more diesel department news from week to week, I always wonder what's going on in [...]
Wed, 04-01-2026 09:01
Good job on the barn 15
Wed, 03-25-2026 18:21
Exciting to see a new barn going up! What's next, after the RAIL project is complete?
Mon, 09-08-2025 08:22
Good job on the Burlington Nortern 9976. OK.
Tue, 08-12-2025 12:56
No new news that I have heard of thus far.
Tue, 08-12-2025 12:53
I'll also be doing another update on it soon. Keep en eye out for that.
Tue, 08-12-2025 12:47
A little work was done to it for Diesel Days this year. You'll see photos floating around for the temporary short term job that was done to make it [...]
Wed, 08-06-2025 13:01
Is steam car CN 15444 going to be coming to museum several times it was to be moved to muesum
Sat, 07-19-2025 18:56
Yeah, sadly it's still there as of 7/19/2025
Thu, 06-12-2025 19:14
Its been 14 years guys, where is the unit? Like really? Did you guys misplace it? Or are repairs taking that long? At this point be might we will have [...]
Wed, 04-09-2025 17:40
Jamie Thanks for the update. She's gonna shine like every thing else you guys do! Smeds
Thu, 03-06-2025 16:28
Yes, there is a wye. Those two have been MU'ed on diesel days a year or two ago.